How I Planned a 17 Day Road Trip to 10 National Parks
Ethan is the doer and I am the planner in our Go There Do That duo. Honestly, I am a planner in my daily life, so planning trips comes naturally. Planning a 17 day road trip was a huge undertaking and not one that I took lightly. There are a lot of ways to plan trips. This is the process that I went through to plan our itinerary, and it worked for us. I put hours into planning this trip down just about every detail. But in the end, our plans had to change. You can read National Parks Extravaganza Itinerary to understand a little more about what changed, and one day I’ll write a blog just for that story because it’s a great one! Either way, I can honestly say that the way the trip turned out was about as perfect as it could have been.


Step 1- When Can You Go?
The first step I take when planning any trip really is deciding the dates. The main reason I do this is because of PTO. The winter holiday season was a great time to plan a longer road trip because we got a couple of freebie days that didn’t count against our time off. Of course when making that decision, it is sometimes at the expense of other people’s feelings if you have family traditions. I was teaching at the time, so it made sense for us to leave right after work on the last day before Winter Break, and we planned to return the day before the break was over. I used no PTO, and Ethan wound up using about 6 days, which is kind of incredible when you’re talking about a 17 day road trip!
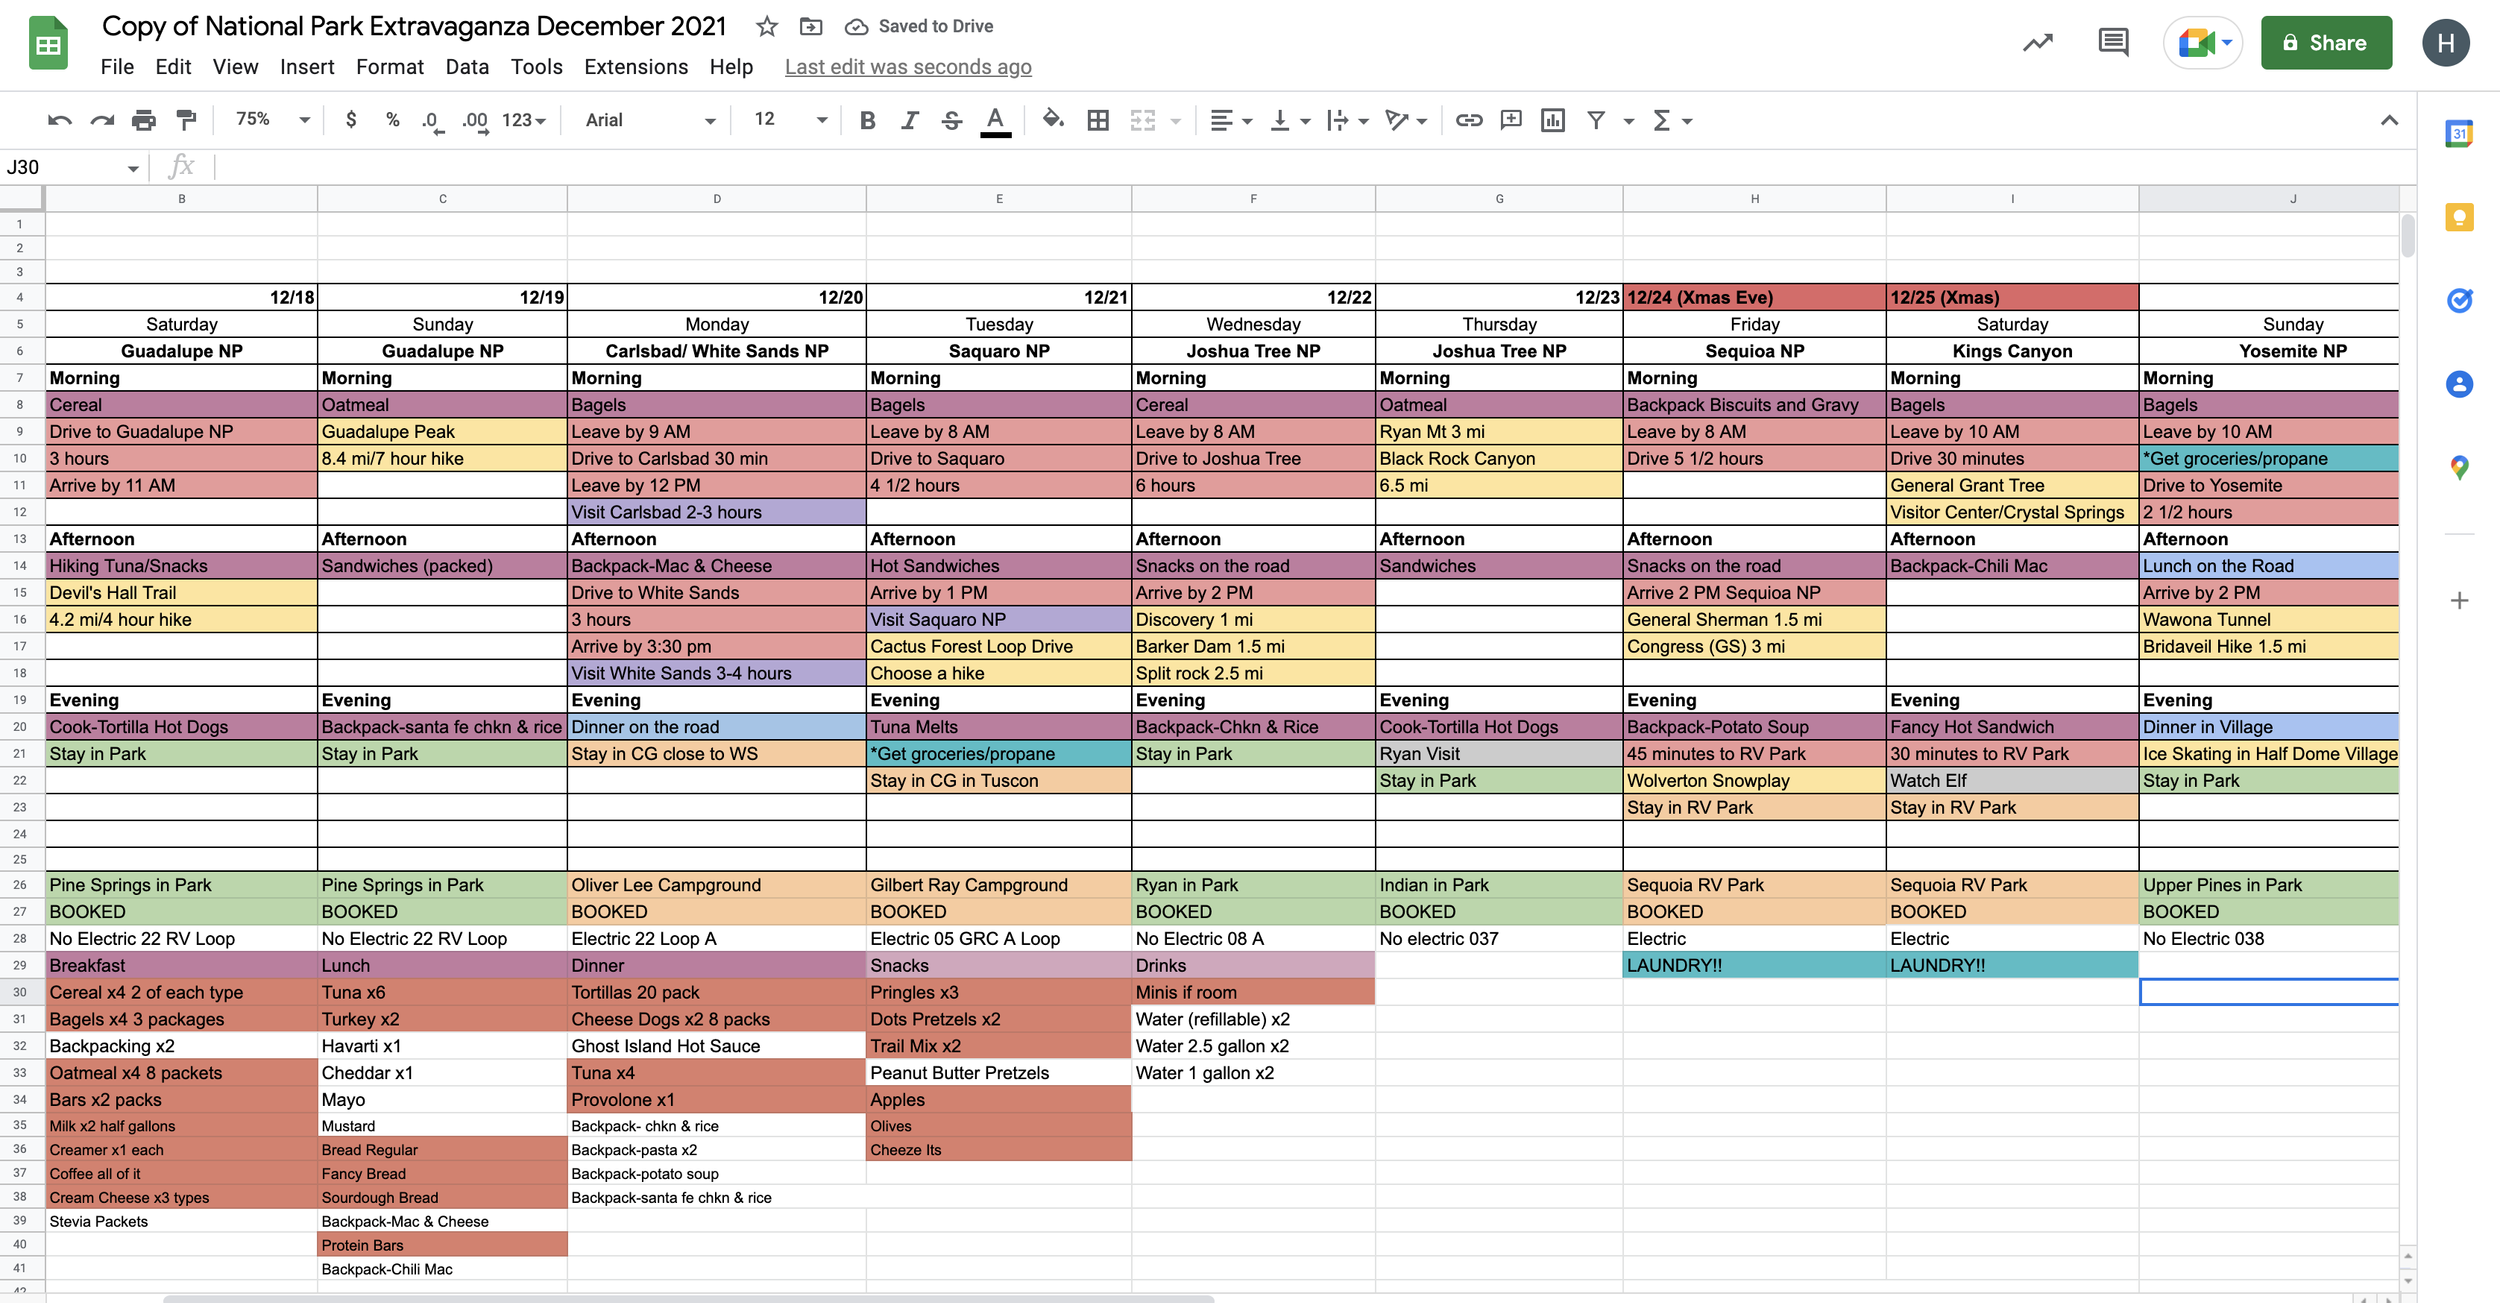
Step 2- How Many Spreadsheets is too Many Spreadsheets?
At this point, I ALWAYS start a spreadsheet (or 5). It helps me visualize the days we have to work with, and how I can fill them up. That way I have a place to keep all my “steps” in order.

Step 3- Where Should You Go?
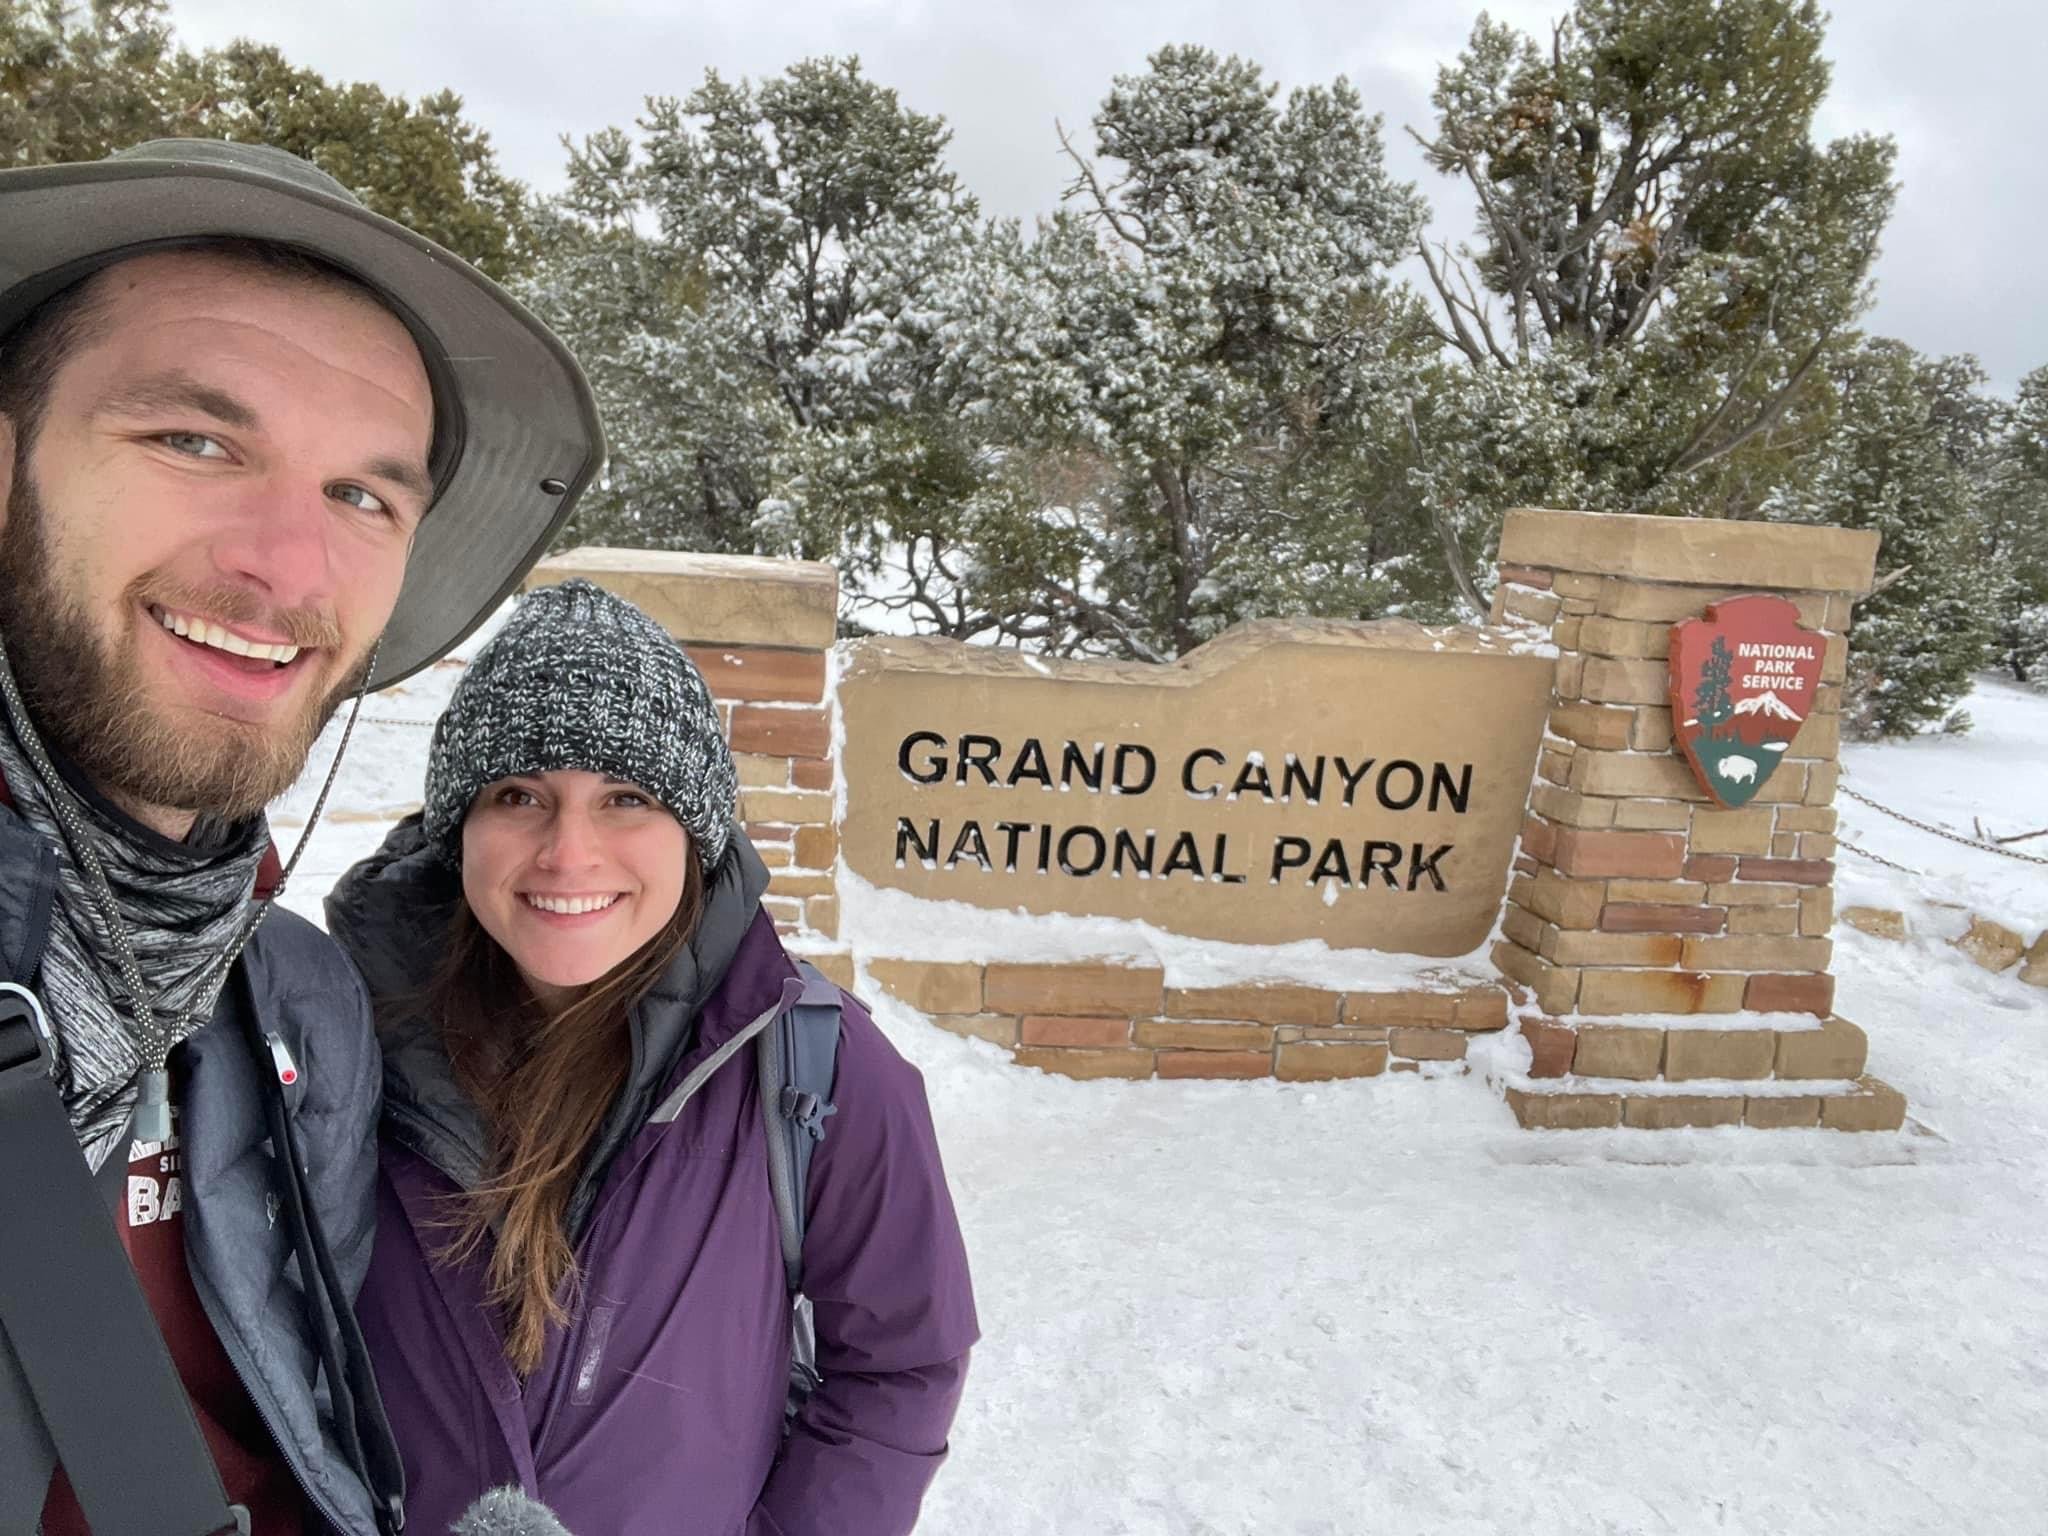
After I decided the when and started my spreadsheet, I literally Googled “best places to visit in December.” I only paid attention to places that seemed interesting and what we felt comfortable with. We weren’t afraid of a little snow. I actually planned 3 different ideas: Florida, Utah, and what I call the National Park Extravaganza.
Step 4: How Will You Get There?
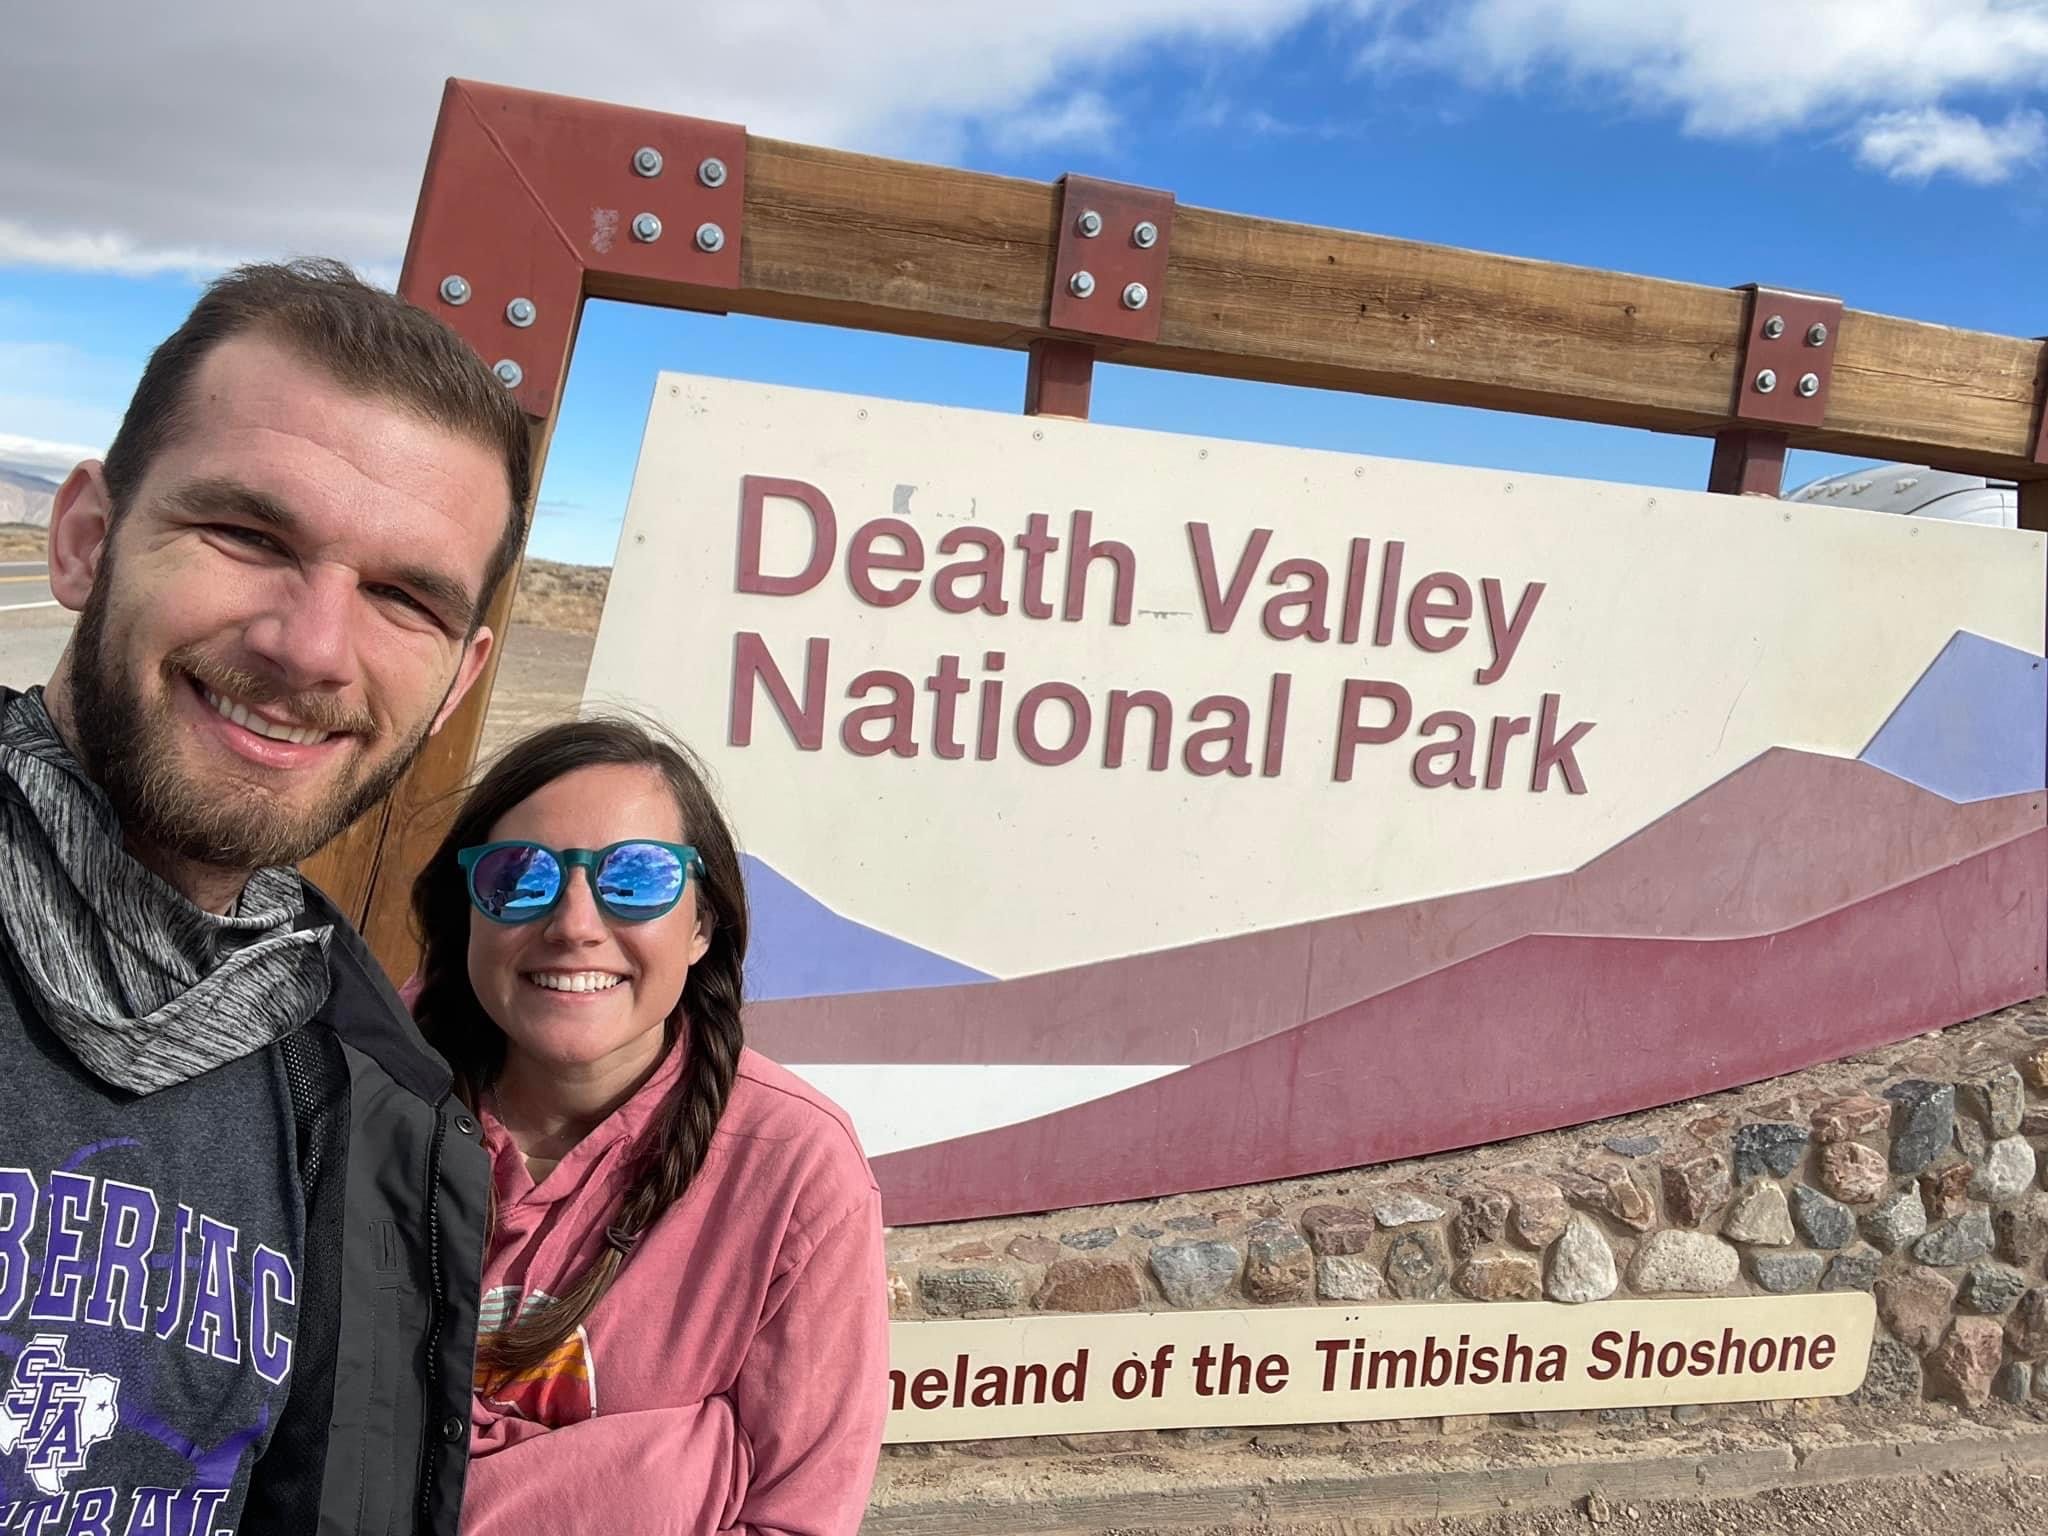
For this trip, we already knew we would be driving because we finally had the van and we wanted to do a big road trip. So I started planning routes. How do we get to the last stop? How do we come back? How much driving are we willing to do each day? What days should we stay stationary? I planned a shorter drive for the first day than usual because I knew we would be driving after we got off work. Then I planned for shorter drives throughout. I planned longer drives towards the end of the trip, so we could stay and enjoy as much as possible. I actually did this step for all 3 plans above because that’s how I determine how we can get the most bang for our buck. We decided the National Park Extravaganza plan was the best because it had a cool name, and it meant we would get to see 10 National Parks and 4 states!

Step 5: Where Will You Stay?
Once I planned the route, I started looking for campsite availability. To give some context, I am a great planner, but I am not one of those people that plans a trip a year in advance. It is usually a few months before, so sometimes I have to be a little creative with reservations. You’re not going to get 4 nights in a row in the best spot in the best campground of your favorite park with this method and that doesn’t really bother me. I started by trying to make reservations staying inside the National Parks on recreation.gov. If I couldn’t find any, then I looked for reservations at State Parks nearby. Last, I would find an RV park within a reasonable distance. However, I did schedule a couple of RV parks on our trip just so we would have access to electricity, a reliable shower, and laundry even though there were reservations available within the parks.
We also have the option to boondock pretty much anywhere, but I like knowing exactly where we are going to stay. Campgrounds are pretty inexpensive, but we could have done the trip even cheaper had I scheduled more stealth camping options.
Step 6: What’s the Budget?
It could definitely be argued that this should be the first step in my process, but it worked for us. Up to this point, the only thing I had paid for was campsite reservations, which are fairly inexpensive. After I knew how much that would cost, I started a budget everything else. For this trip, I broke it apart by campsite reservations, food, gas/propane, experiences, souvenirs/miscellaneous (I’m a T-shirt junkie), pet sitting, and preparation (gear, etc.). The budget wound up being pretty accurate, and we were under budget for most items besides gas.
Step 7: What Will You Do?
The next important question for me to answer in my planning is, “How can we make the most of the time we have?” To figure this out, I bought a couple of books and did a lot of Googling. I used that to help me plan for hikes and things we could do at each place based on the amount of time we had. We wound up doing some of the things I planned, saying no to others, and adding in a few unexpected experiences too!
I would definitely recommend doing your best to plan hikes ahead of time on a big road trip. It made it way easier to experience the hikes we wanted to and budget our time for the best views.

Step 8: What are the Logistics?
So this was a big road trip. It was the longest trip we’d ever been on, and our first big trip in the van. In those 17 days, we would need gas, more propane, more food, and to be able to do laundry so we could pack less. I also started planning the food situation at this step. When will I cook? When will we get food on the road? I spent some time strategically planning where we could make important stops along our route for essentials.
One thing I didn’t include in my master plan was that we would need an oil change near the end of our trip! I did not put the pieces together between the amount of miles we would be driving and suggested oil change miles. Luckily, we were able to stop in Vegas for one without even getting out of the van!
Step 9: What Gear Do You Need?
We live in Texas, so we don’t have a ton of winter gear. We decided to visit the mountains in the middle of winter, so we had to research and figure out what we would need. We bought tire chains, an air compressor for winterizing, anti-freeze, snow scrapers, a Noggle, and a roadside emergency kit. I also got serious about organization because we would be cramped in the van for a long time together. I wanted everything to have a place, so I got packing cubes, hanging organizers, shelves, hooks, bins, and refillable soap dispensers. We have traveled to Alaska, so we already had some winter gear. However, we stocked up on more warm socks and under layers for this trip.
Step 10: What Should You Bring?
As the trip grew closer, I started an extensive packing list. I divided it into van essentials, kitchen/food, hygiene, bedding, Heather, and Ethan. The lists under our names were our clothes and personal items that we wanted to bring. As I actually packed these things closer the trip, I would highlight them on the list, so I wouldn’t forget anything.
Step 11: What’s the Weather?
Although it didn’t help me much on this trip, I’ve learned to always check the weather a few days before you leave. This was kind of tricky because of the length of our trip. It was hard to find accurate information on some of the later locations which is probably why we weren’t aware of the crazy winter storm coming in that chased us from Sequoia National Park all the way home. Even so, it was very helpful in planning when we would probably need to winterize the van and start dry camping on our trip. It also helped in planning our packing lists since some places would be colder than others.
The screenshot below cracks me up because it was before we knew how crazy the weather would be. Yosemite wound up having a low of 4 degrees while we were there!

Step 12: Where’s the Closest Printer?
This was a short step I saved for the day we left, but I thought it was important. I printed off everything (directions, reservation confirmations, my beautiful spreadsheet) because I wasn’t sure how reliable our service would be. I made a binder with everything we needed, and we used it a lot more than I thought we would. I will definitely be utilizing this step with any long road trips in the future.
Step 13: Be Flexible.
This step’s heading is a statement instead of a question for a reason. You have to be flexible. I made this plan, so we wouldn’t waste our time deciding what to do, and we would be prepared. It wasn’t ever meant to be unchanging, and boy did we have to change. Yeah, we didn’t get to do everything we planned. We had to change the when, the where, and the what in the middle of the trip. Yet, it was still absolutely the trip of a lifetime!
Watch the National Parks Extravaganza Trailer!
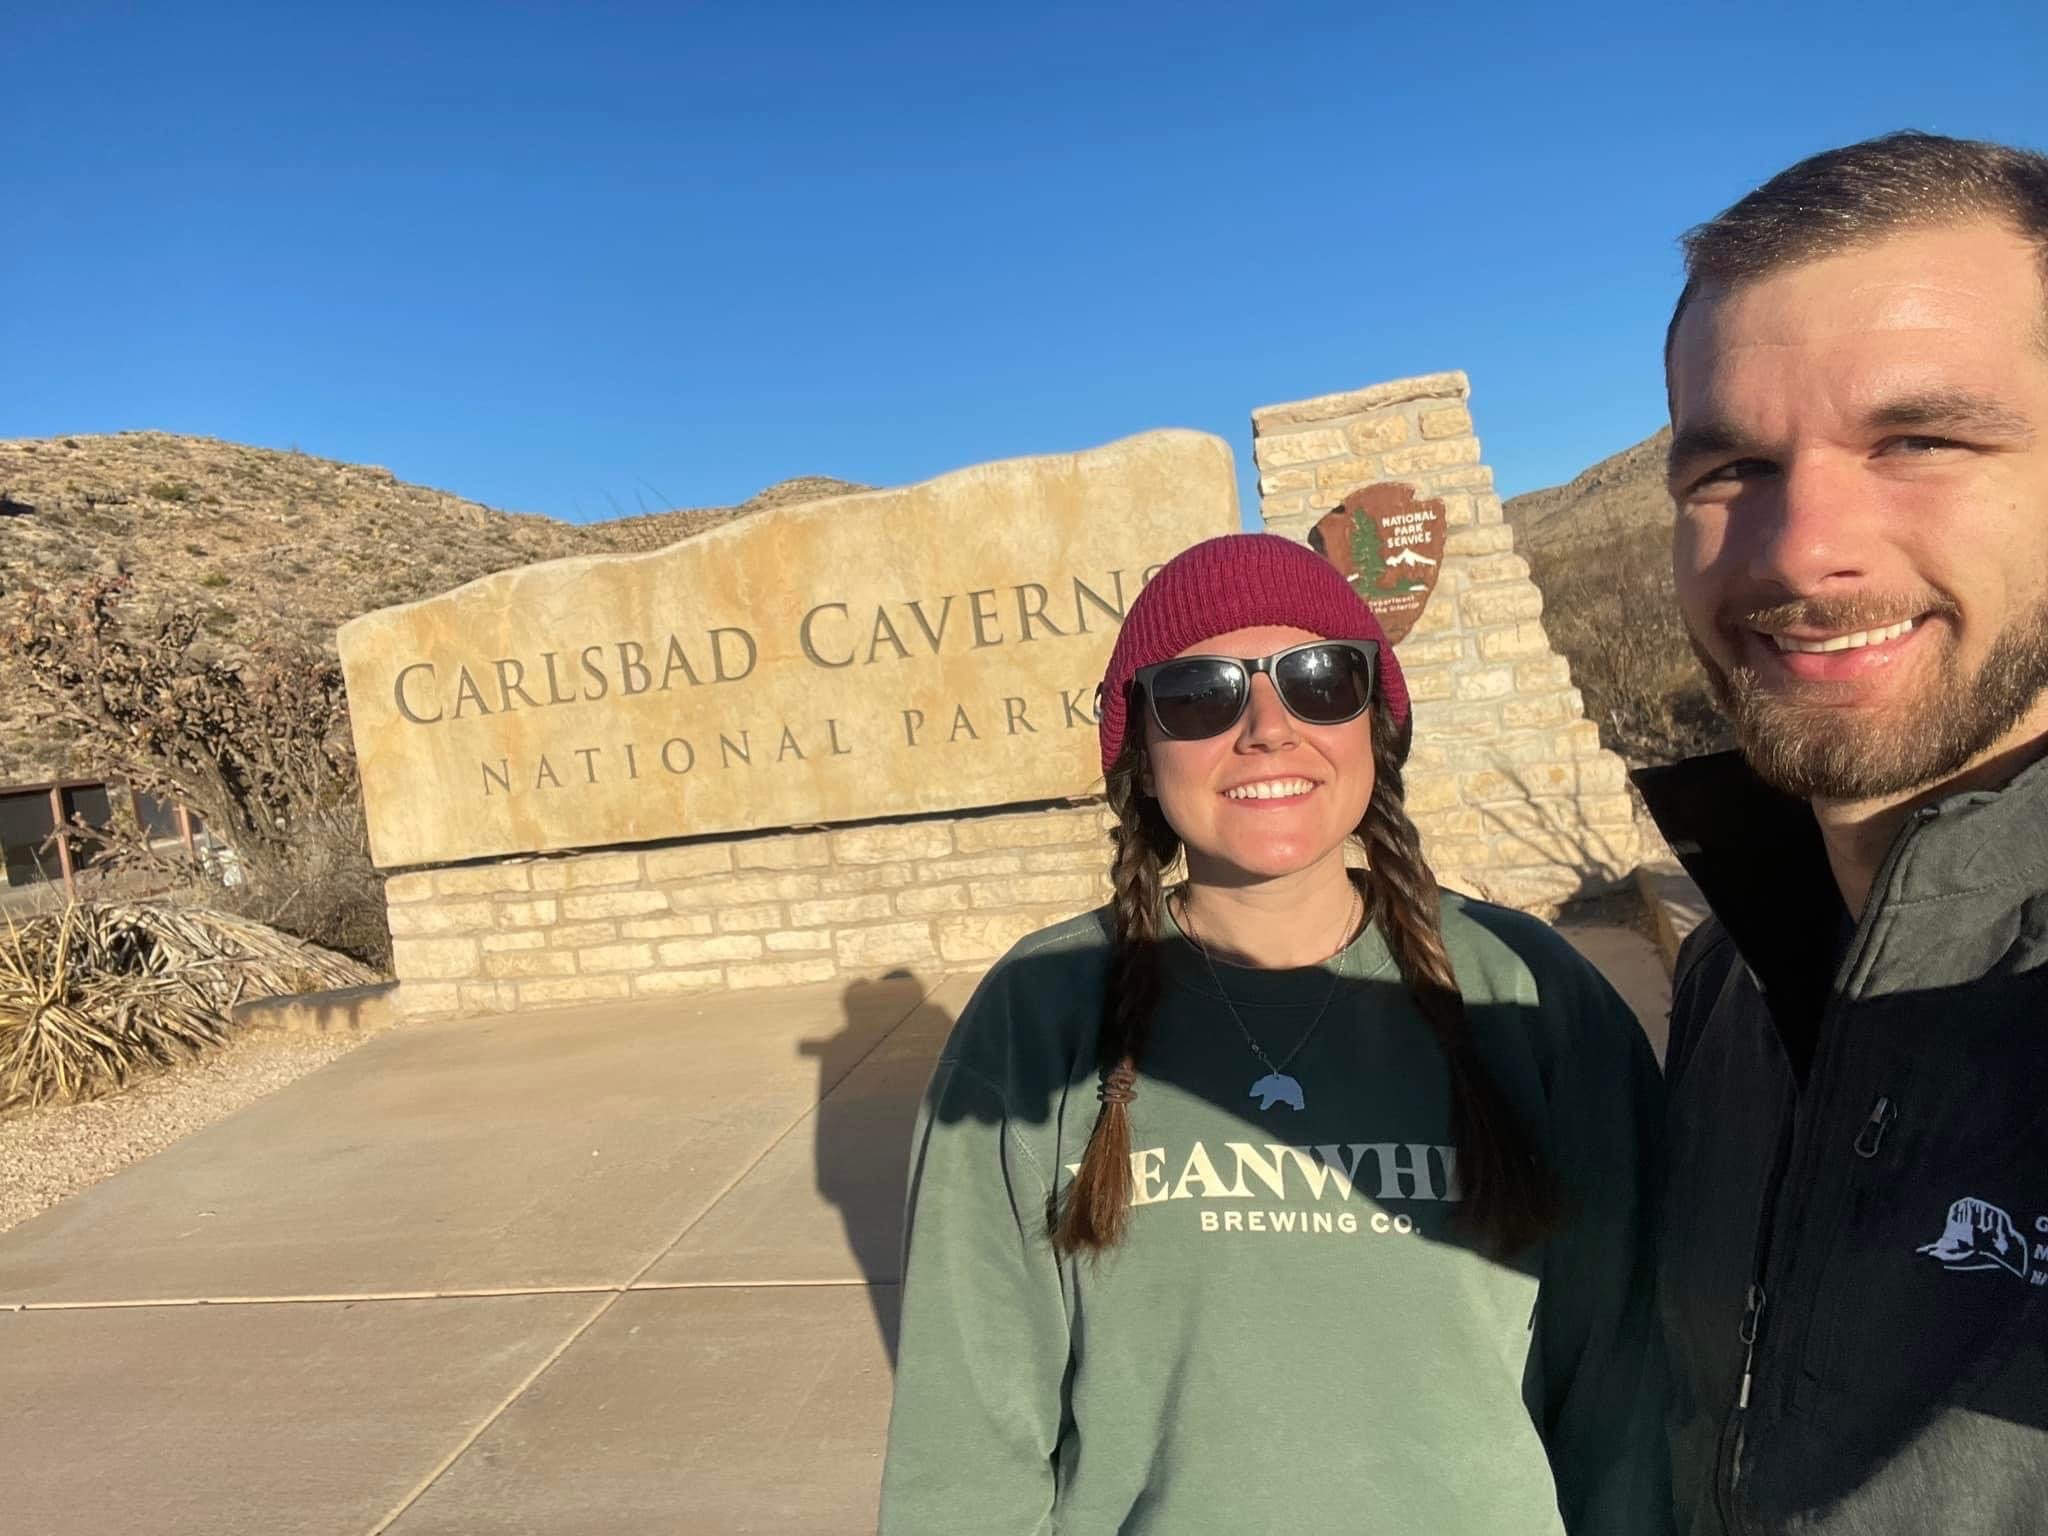
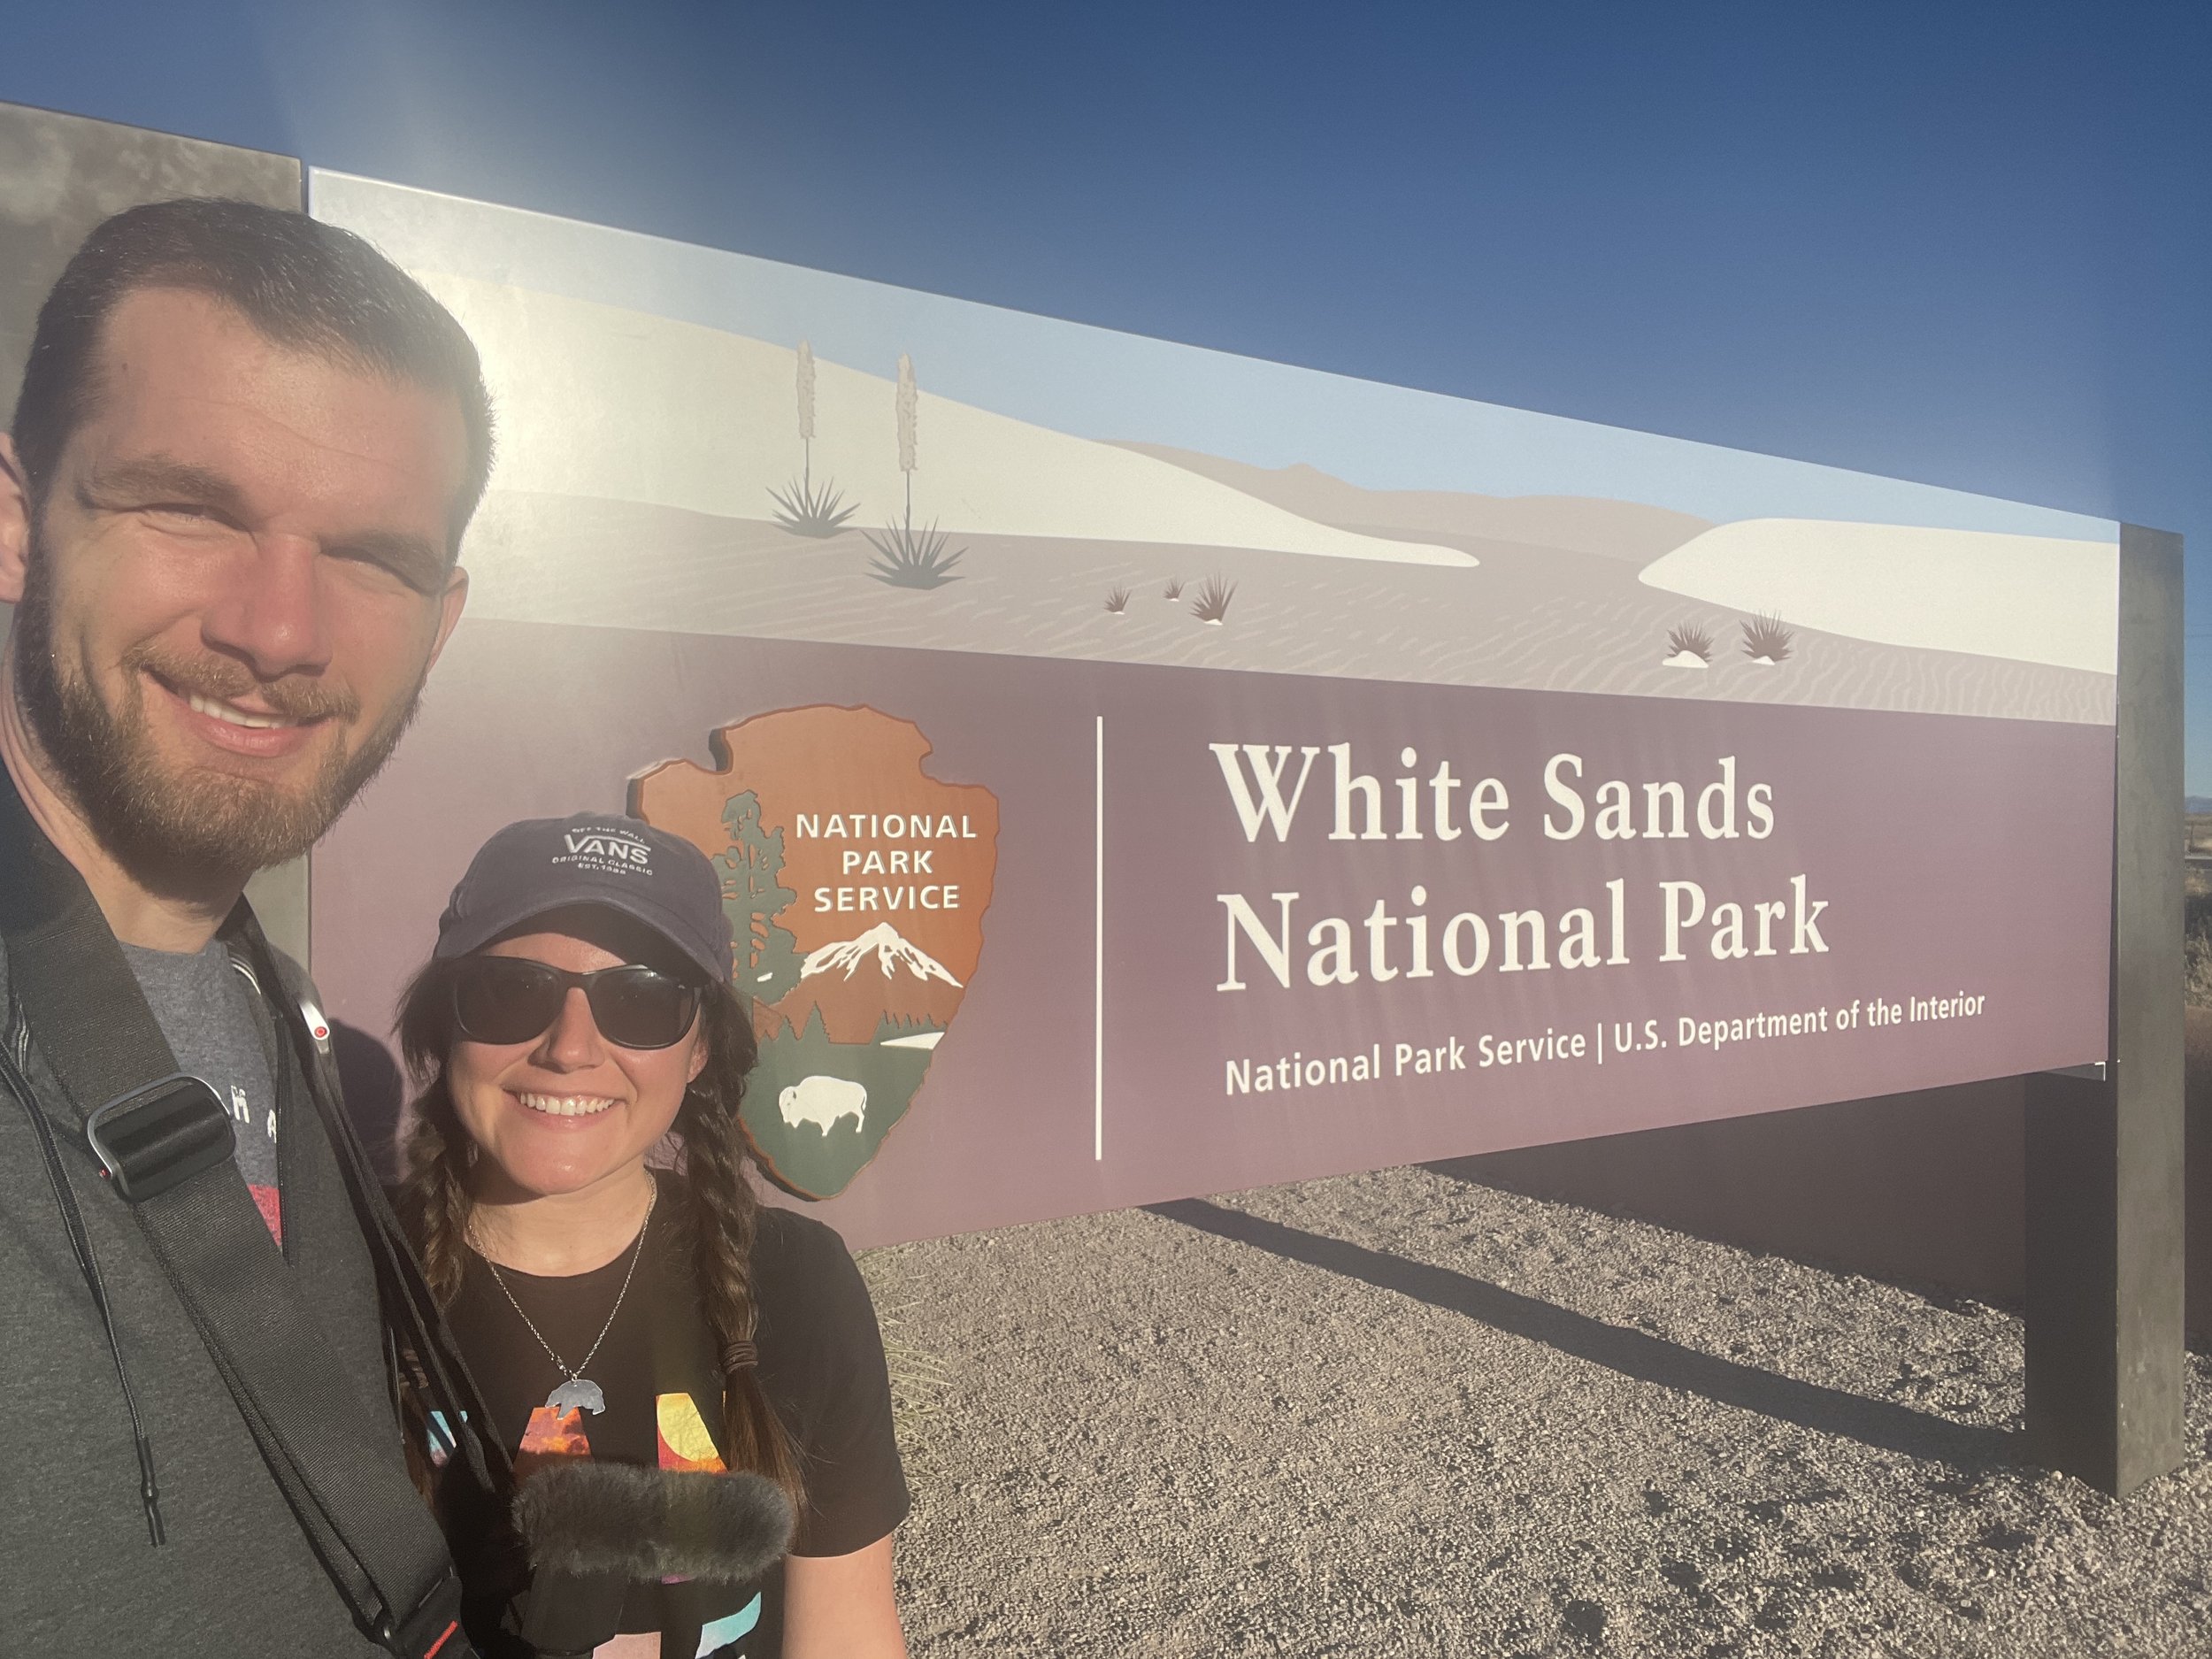
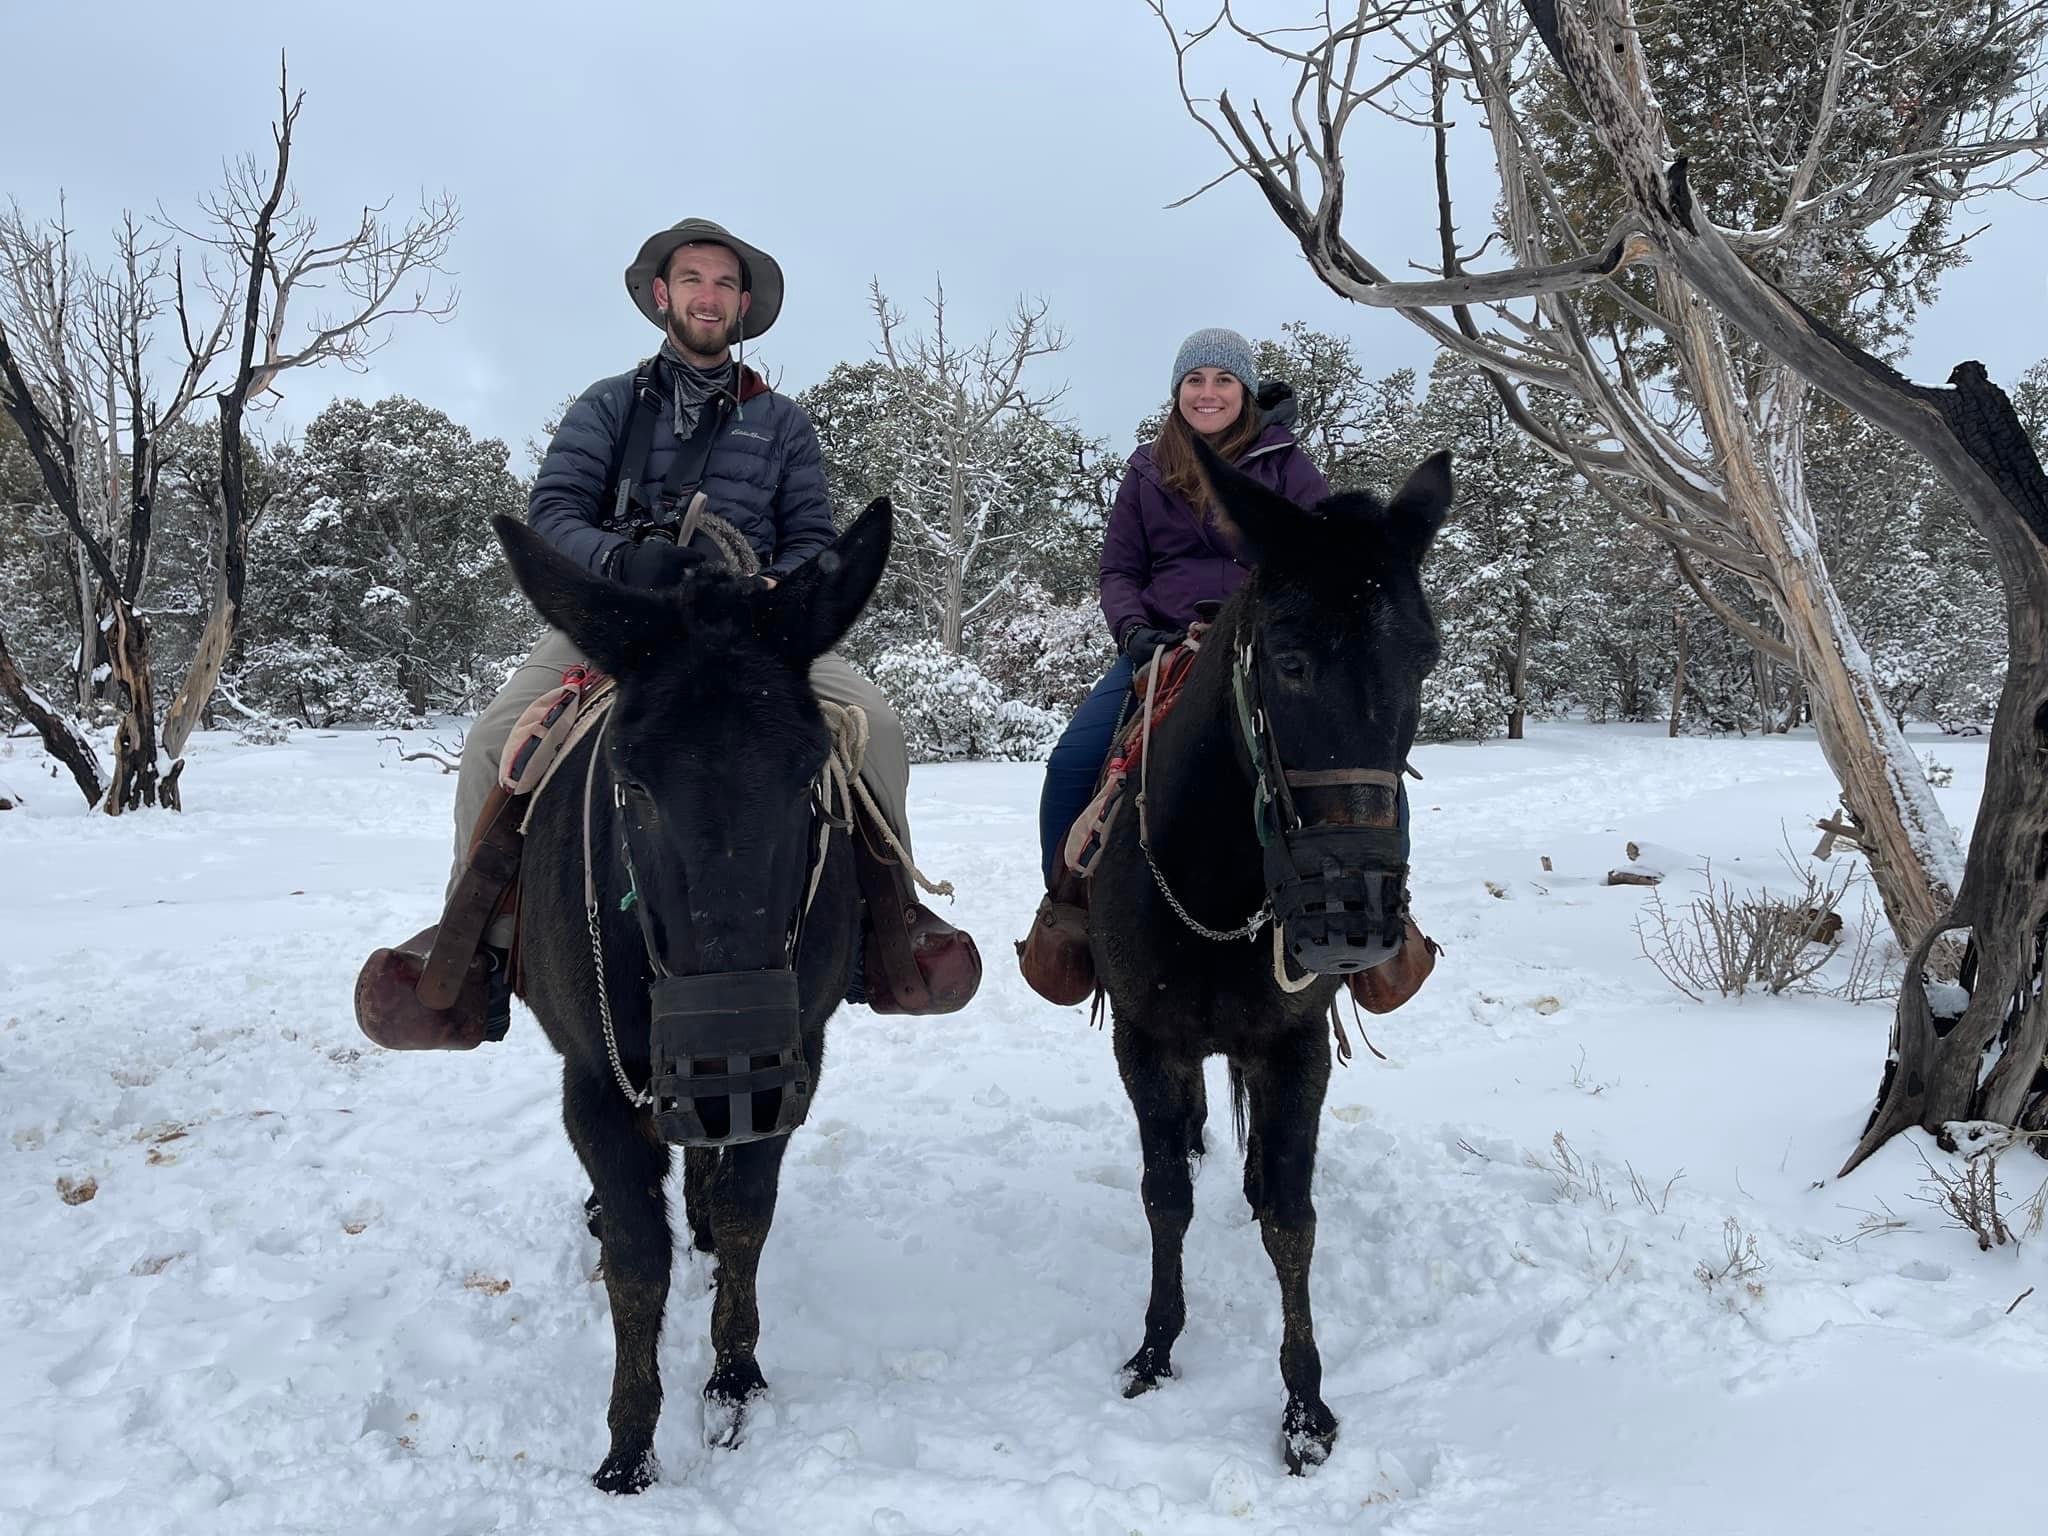
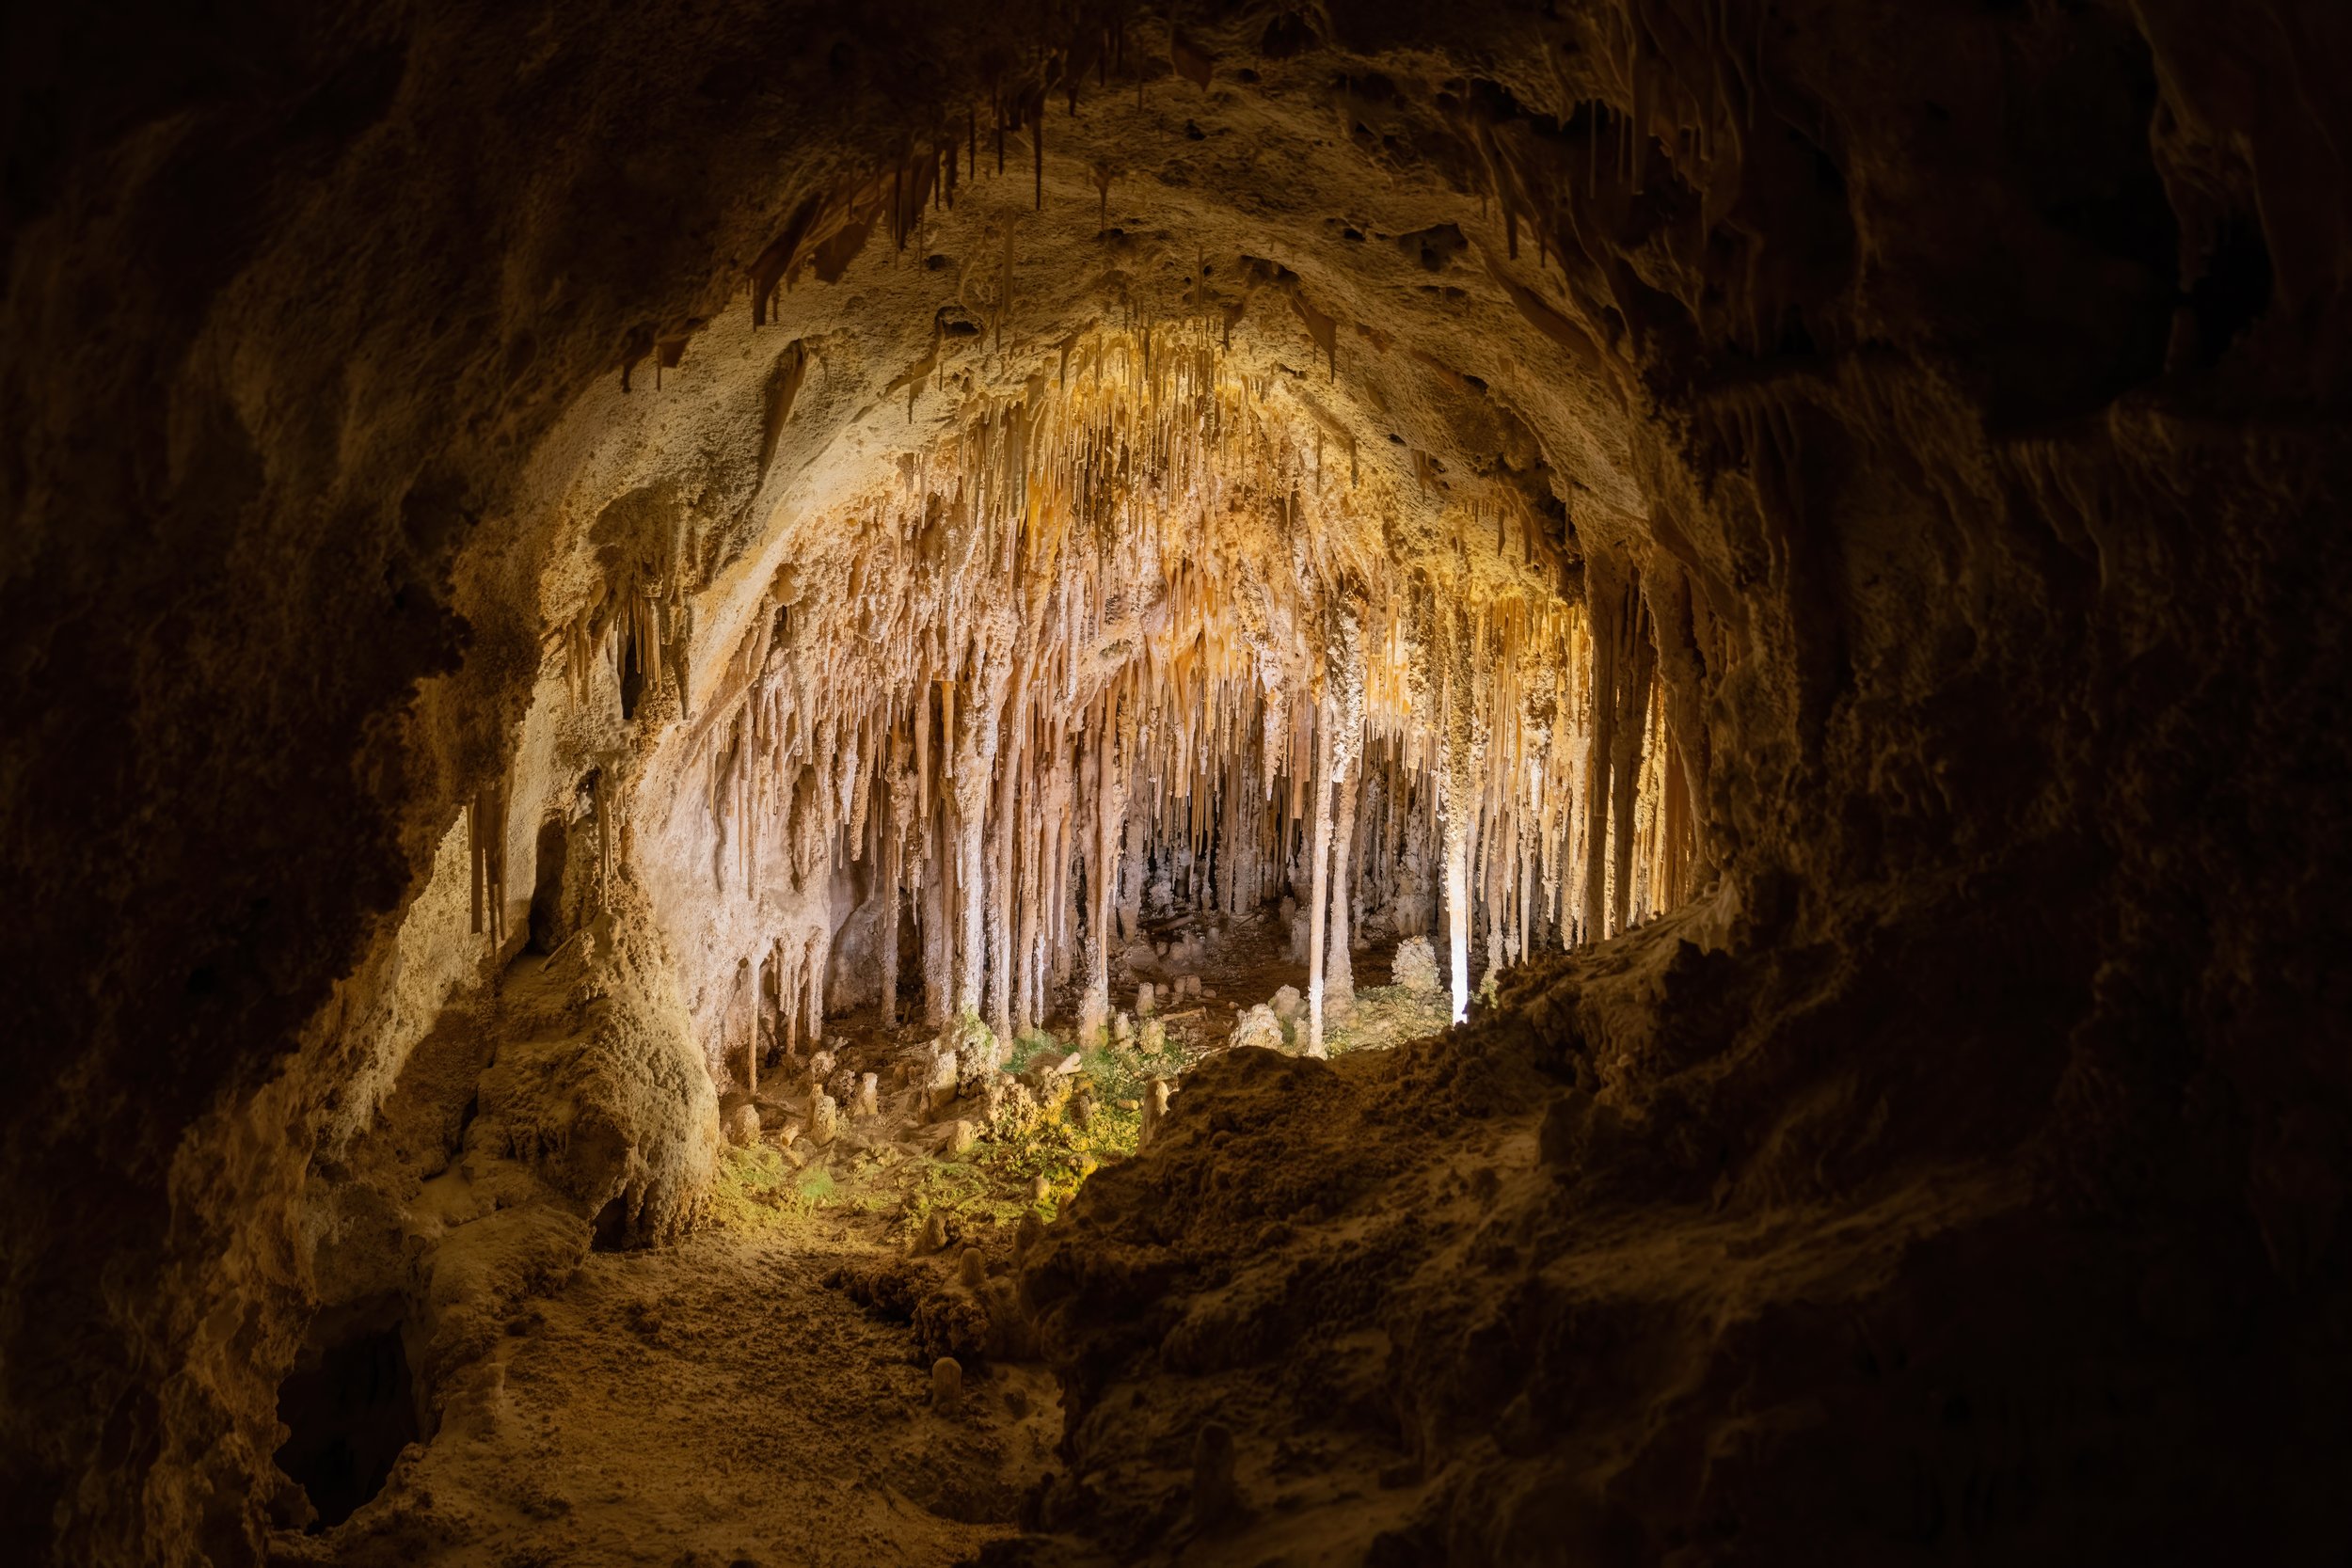
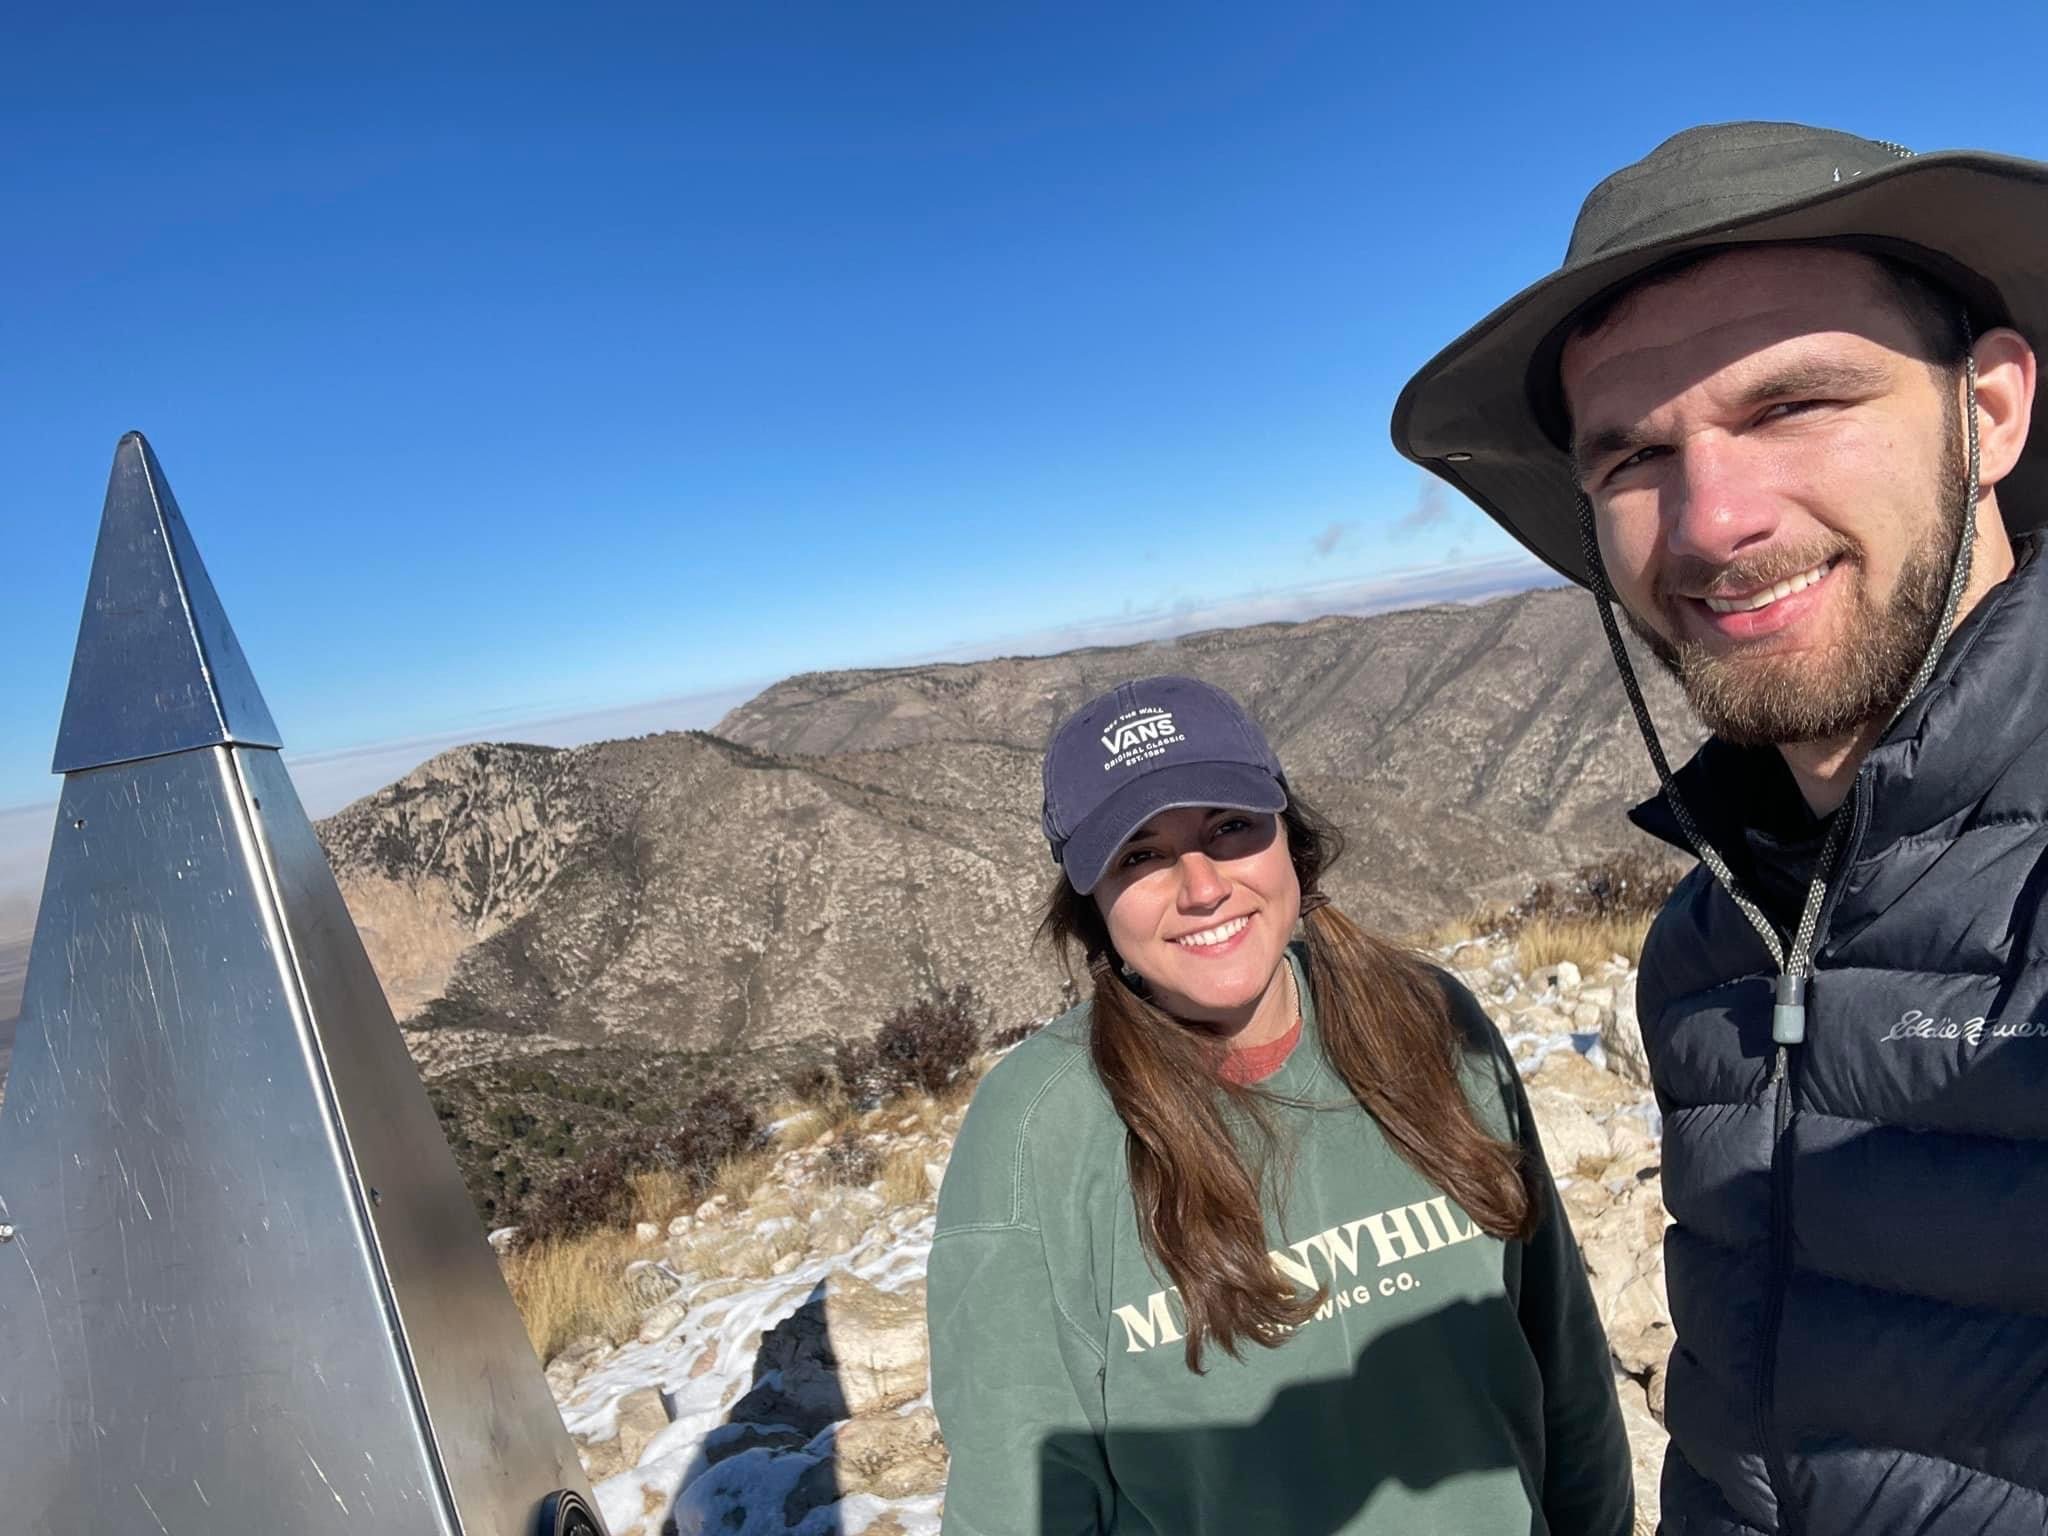
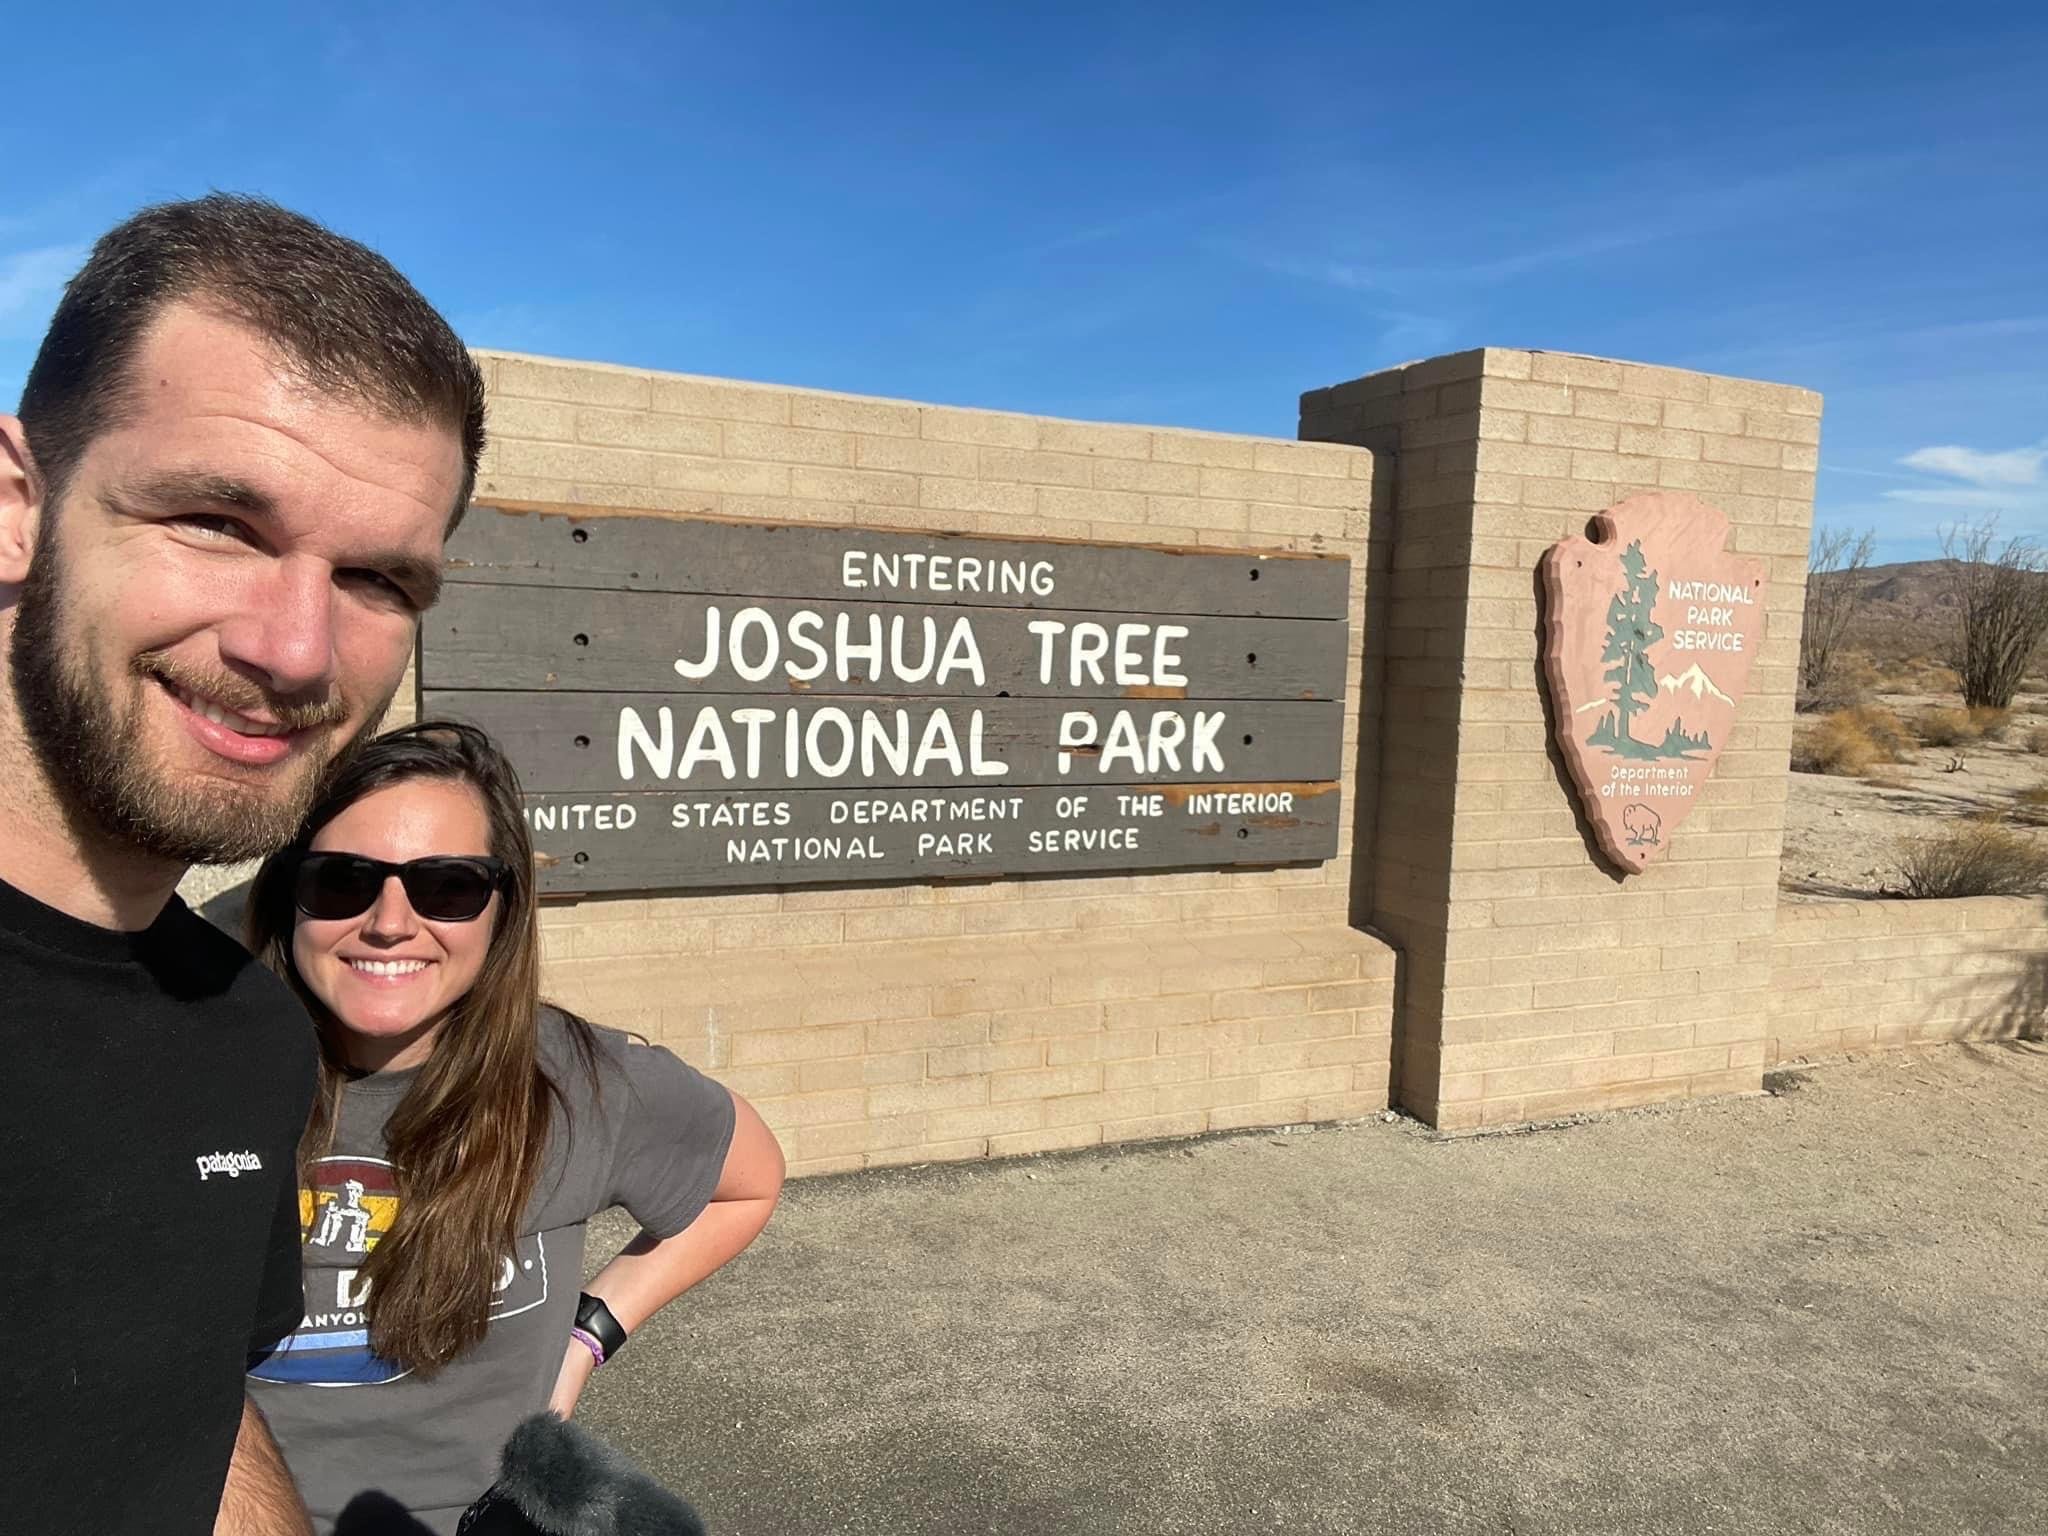
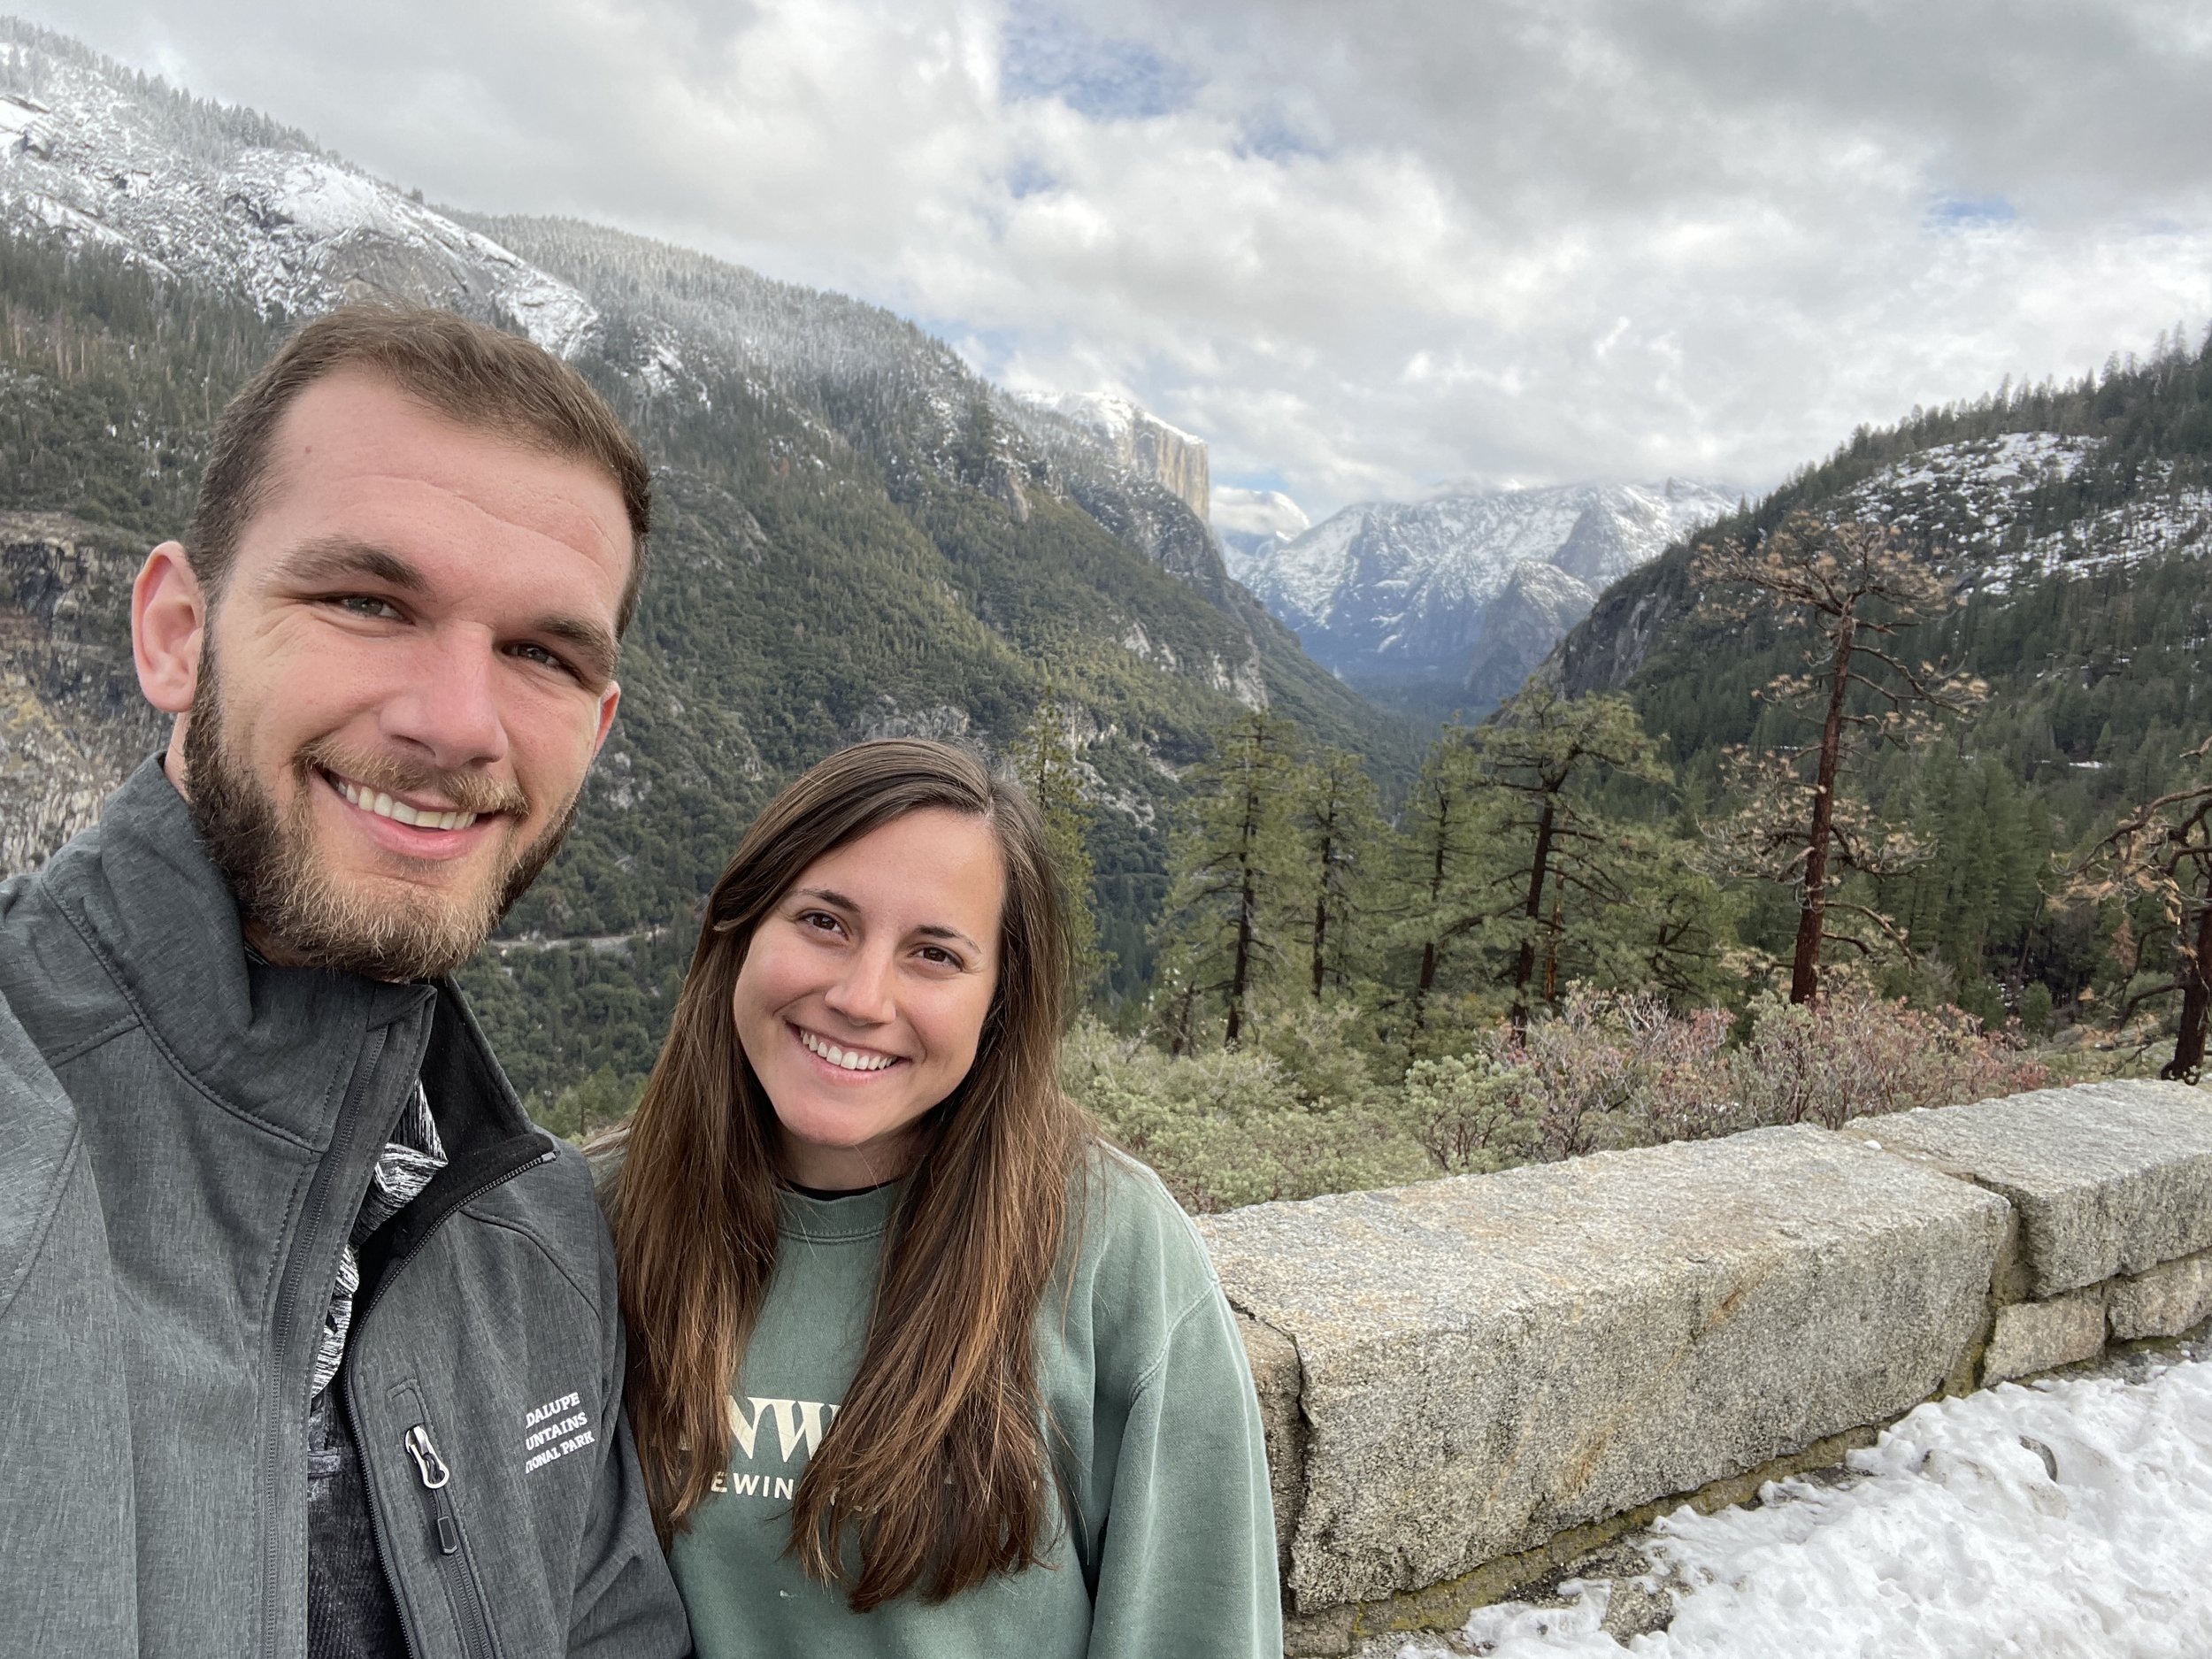
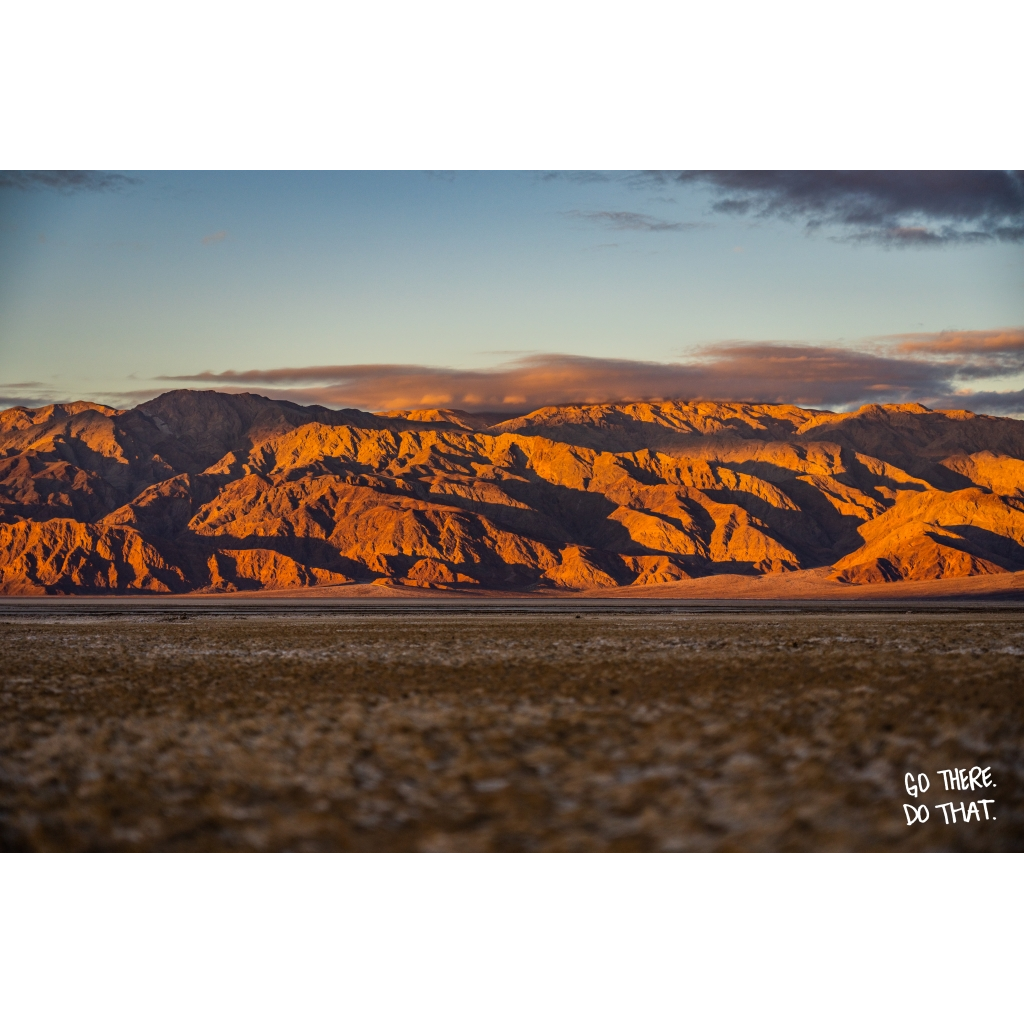
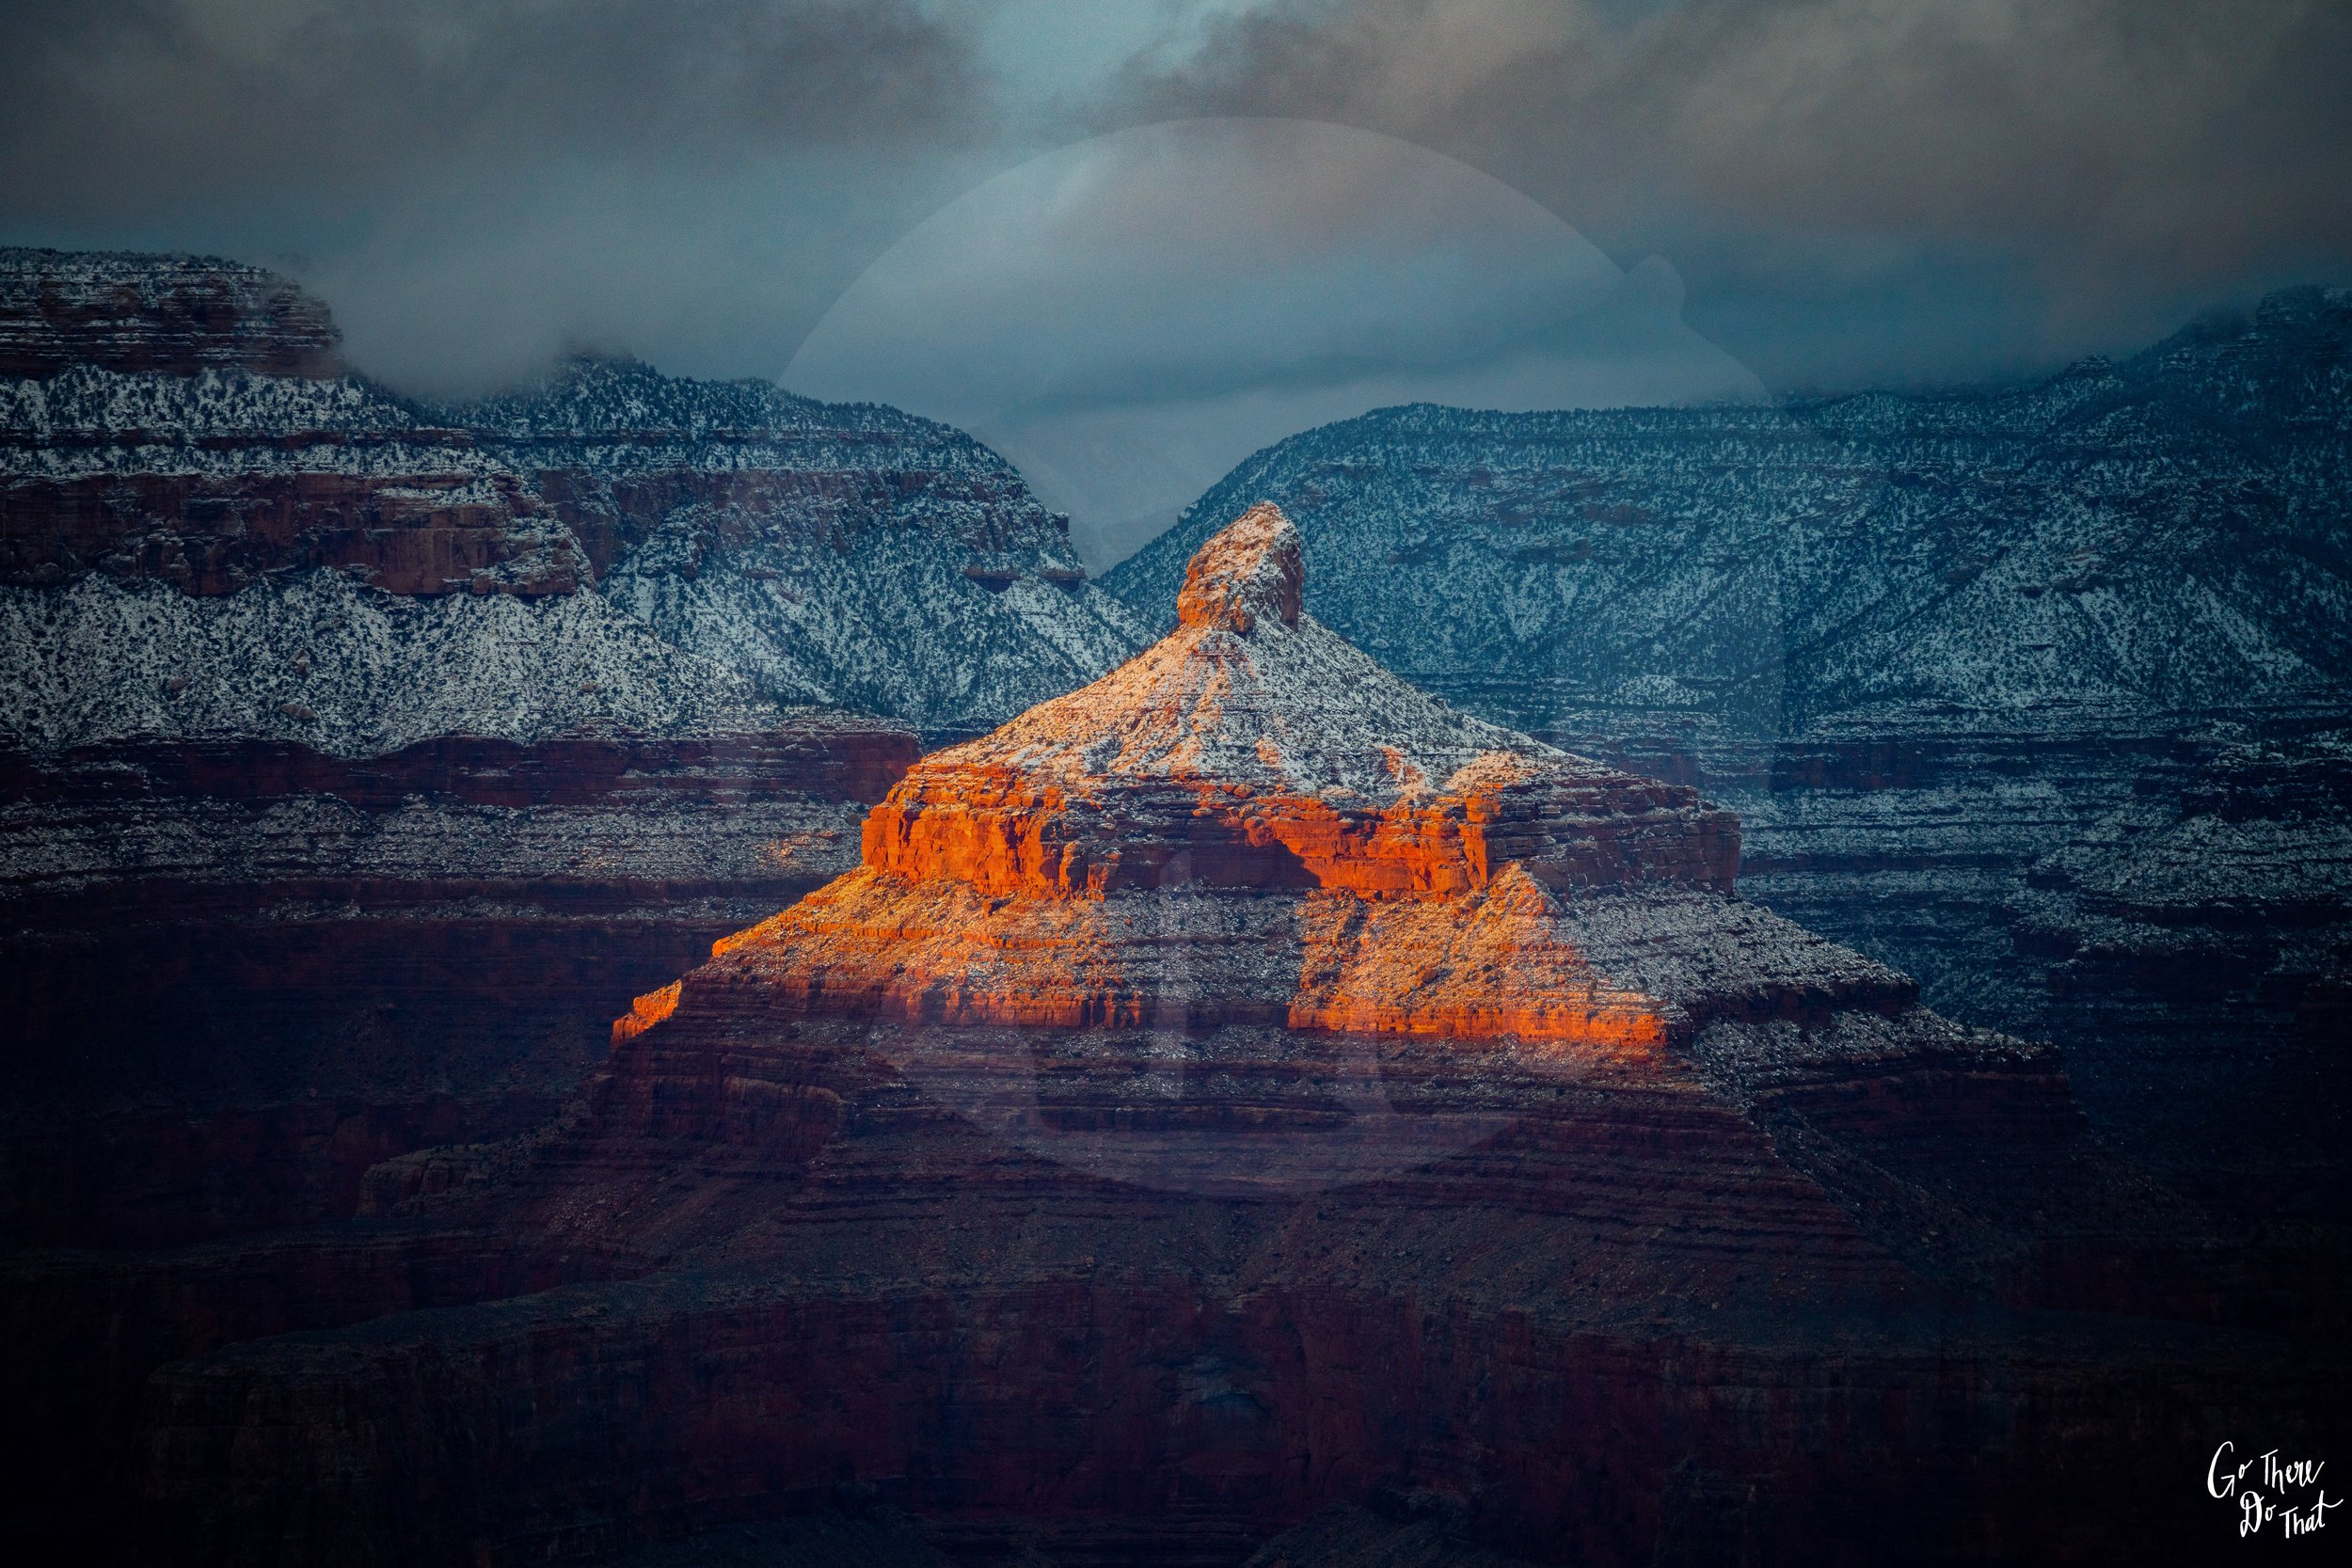
We captured a variety of landscapes on this trip that you can find below!


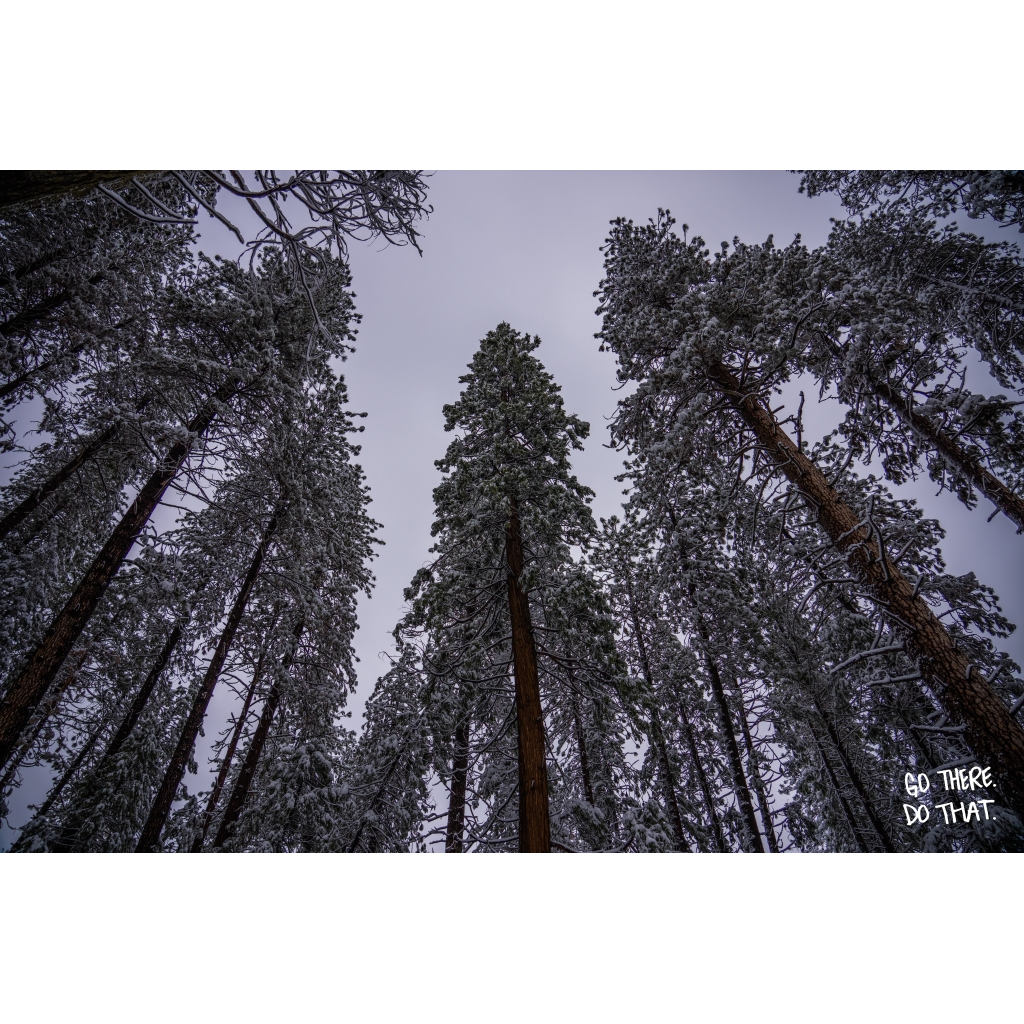


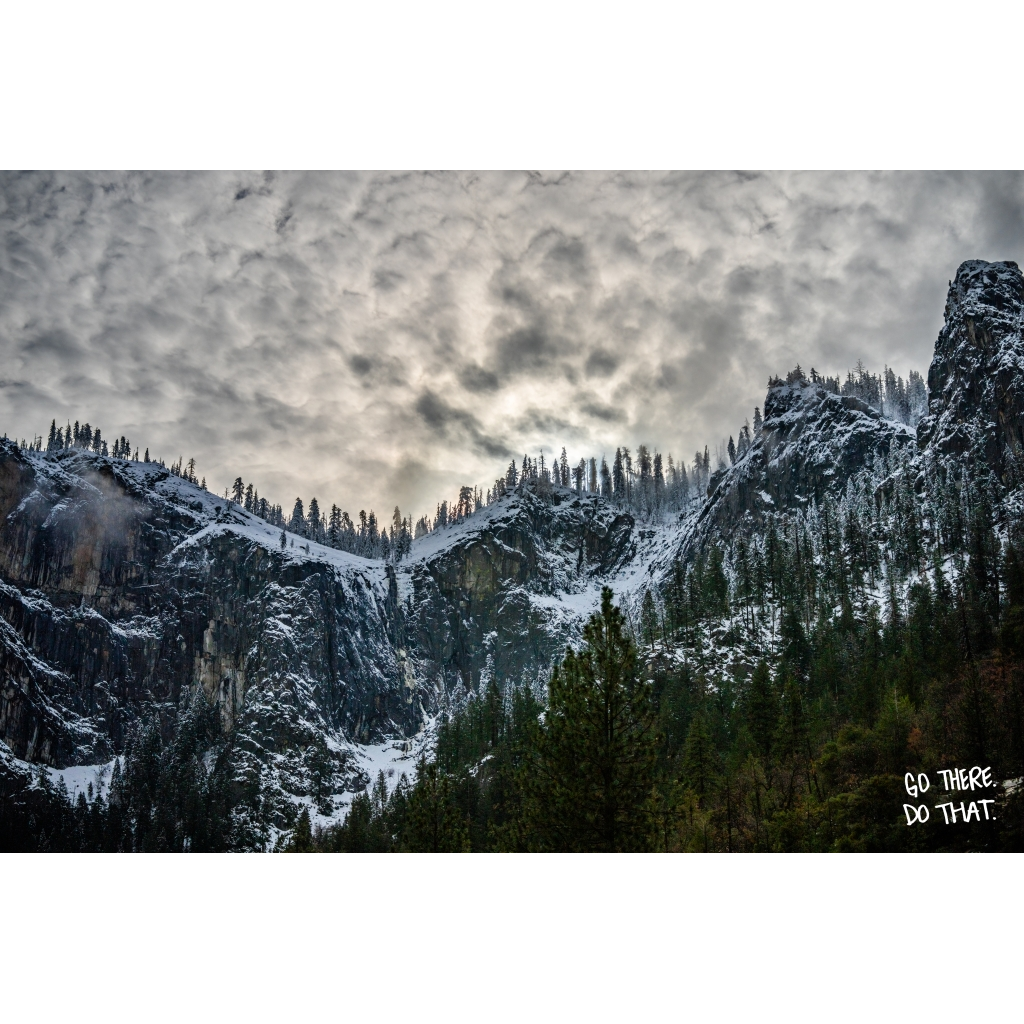


On the day after Christmas in 2021, we were forced to leave Yosemite National Park due to excessive snowfall. This photo was taken as we were leaving the park and is a stark contrast to the "Classic Yosemite Landscape" we had captured the day before.